

Start a project from a template
Launch a project from a ready-made template — pick what you need done, open a template, answer the assistant's questions, attach your data, and deploy.
A template is a project configuration someone has already built and tuned: the labeling interface, the quality criteria, the contributor onboarding, and the audience and pricing defaults. You pick one, answer a few questions about your own data, and deploy. Use this when a template matches the job you have; if none does, have the agent build the project from your description instead.
Before you start
Section titled “Before you start”You need:
- An account you can sign in to.
- A team with a funded balance. A template run pays real contributors, so the deploy is blocked on an empty balance. See Manage your team and balance.
- Your data, if you have it. You can also let the assistant build the dataset for you, which is what the collection templates do — they generate one empty slot per recording.
Step 1 — Say what you need done
Section titled “Step 1 — Say what you need done”Sign in. The home screen asks What do you need done? Click Data collection if you want data that does not exist yet — video, audio, images, in-the-field capture. Click Data labeling if you already have data and need it annotated, ranked, transcribed, or moderated.
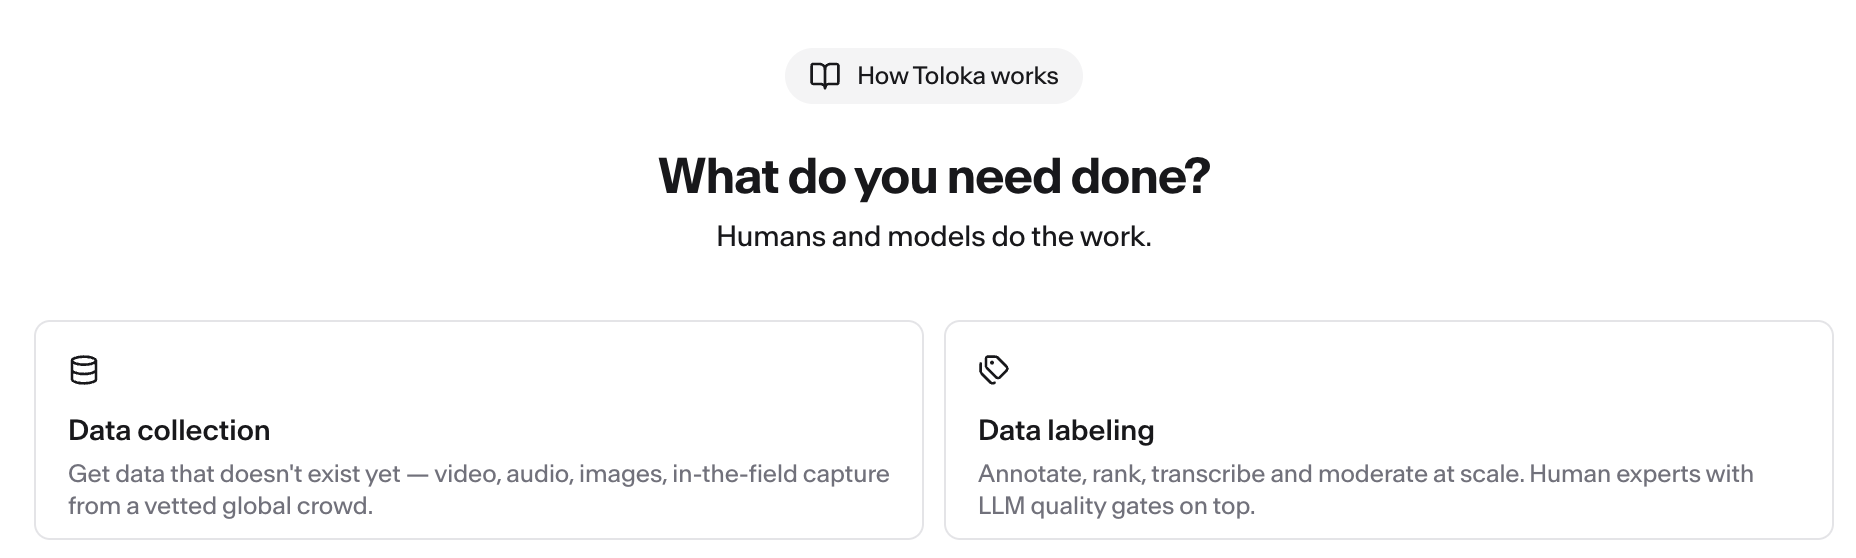
Your choice creates a draft project, opens the Let’s set your task screen, and narrows the templates below to the ones that fit it.
Step 2 — Open a template
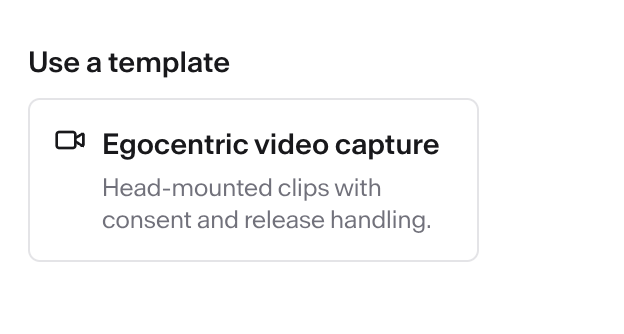
Section titled “Step 2 — Open a template”Under the description field is a Use a template section. Each card names a template and says what it collects. Click the one that matches your job.
Step 3 — Check the preview, then continue
Section titled “Step 3 — Check the preview, then continue”The card opens a preview: the pipeline the template will build, and a summary of the prompt it will send to the assistant on your behalf — including the defaults it assumes for crowd, price per item, and item length. Read the summary; those defaults are what you will be changing later if they do not fit.
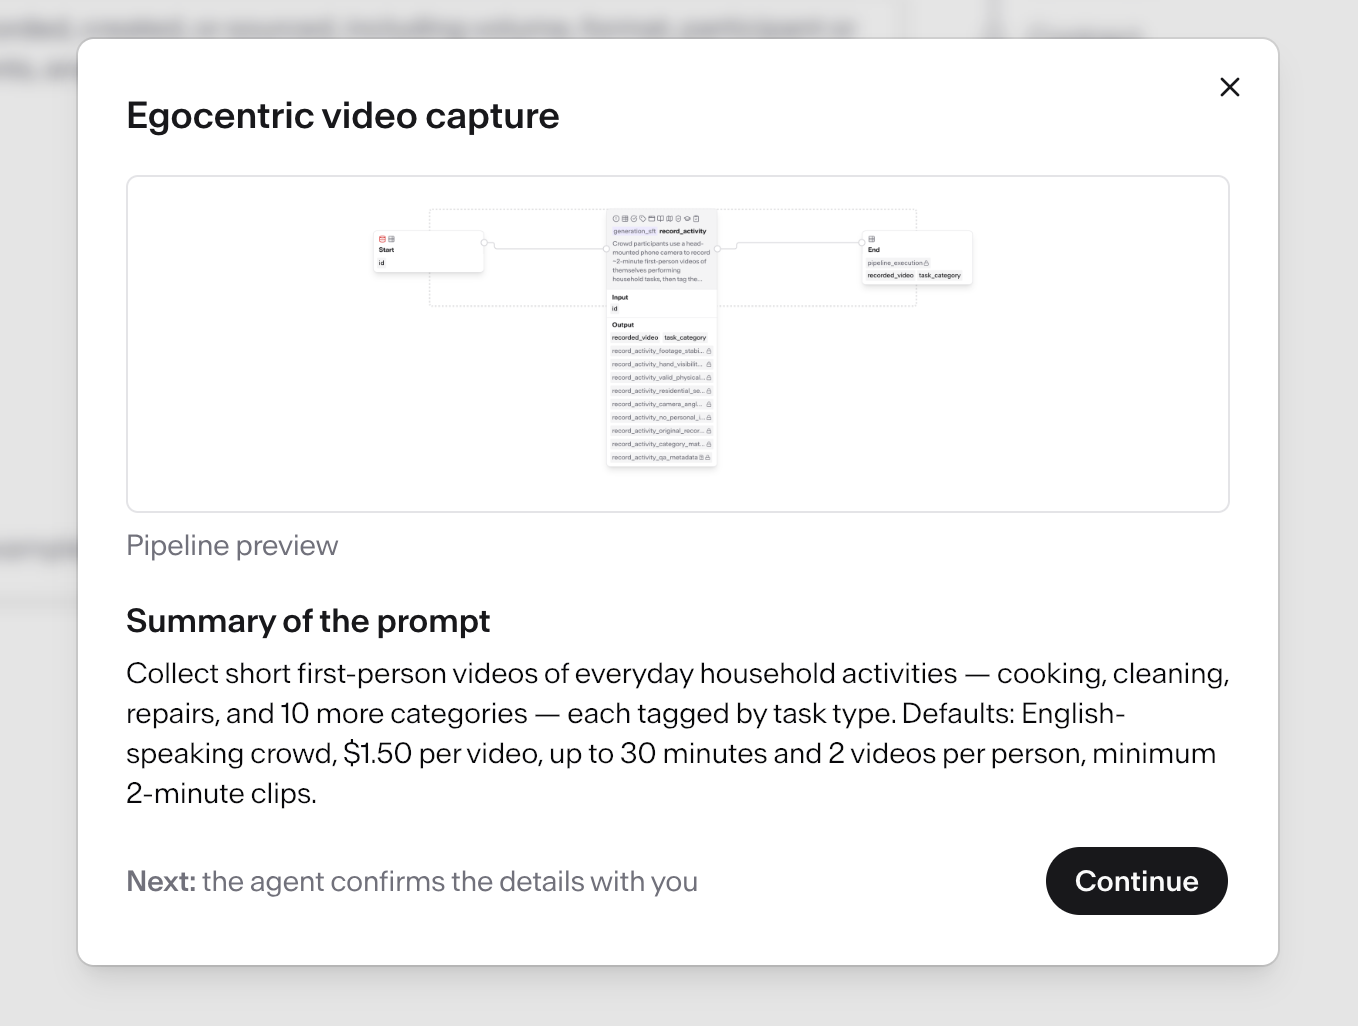
Click Continue. Three things happen at once: the project takes the template’s name, a first pipeline appears already configured from the template, and the assistant opens with the template’s briefing.
Step 4 — Answer the assistant’s questions
Section titled “Step 4 — Answer the assistant’s questions”The assistant asks what it needs to tailor the template to your job — how much data you want, what your subject matter is, and what defaults you want changed. Questions come as a short series with suggested answers, and you can type your own instead.
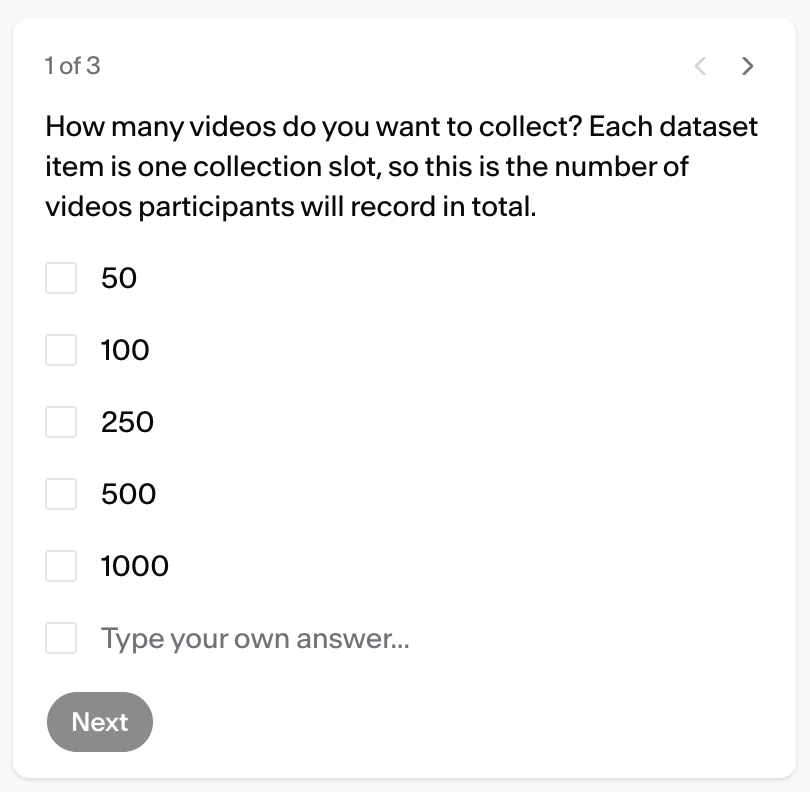
Answer all of them. The assistant does not touch the pipeline until it has your answers, so this is the cheapest point to change your mind about scope, price, or audience.
Step 5 — Attach your data
Section titled “Step 5 — Attach your data”Upload your dataset, or ask the assistant in the chat to generate one. Templates that collect fresh data — recordings, photos, test sessions — do not need a dataset from you: the assistant creates one row per item you want collected and wires it to the pipeline.
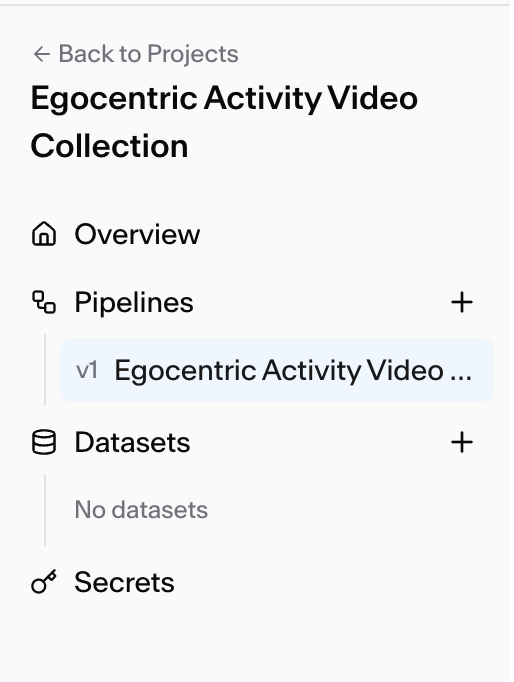
For uploading your own file and setting up its fields, see Create and manage datasets.
Step 6 — Review each node
Section titled “Step 6 — Review each node”Open the pipeline and check every node before you launch. The template’s defaults are a starting point, not a recommendation for your budget: price per task, time per task, the audience filters, the labeling interface, and the contributor guidelines are all yours to change.
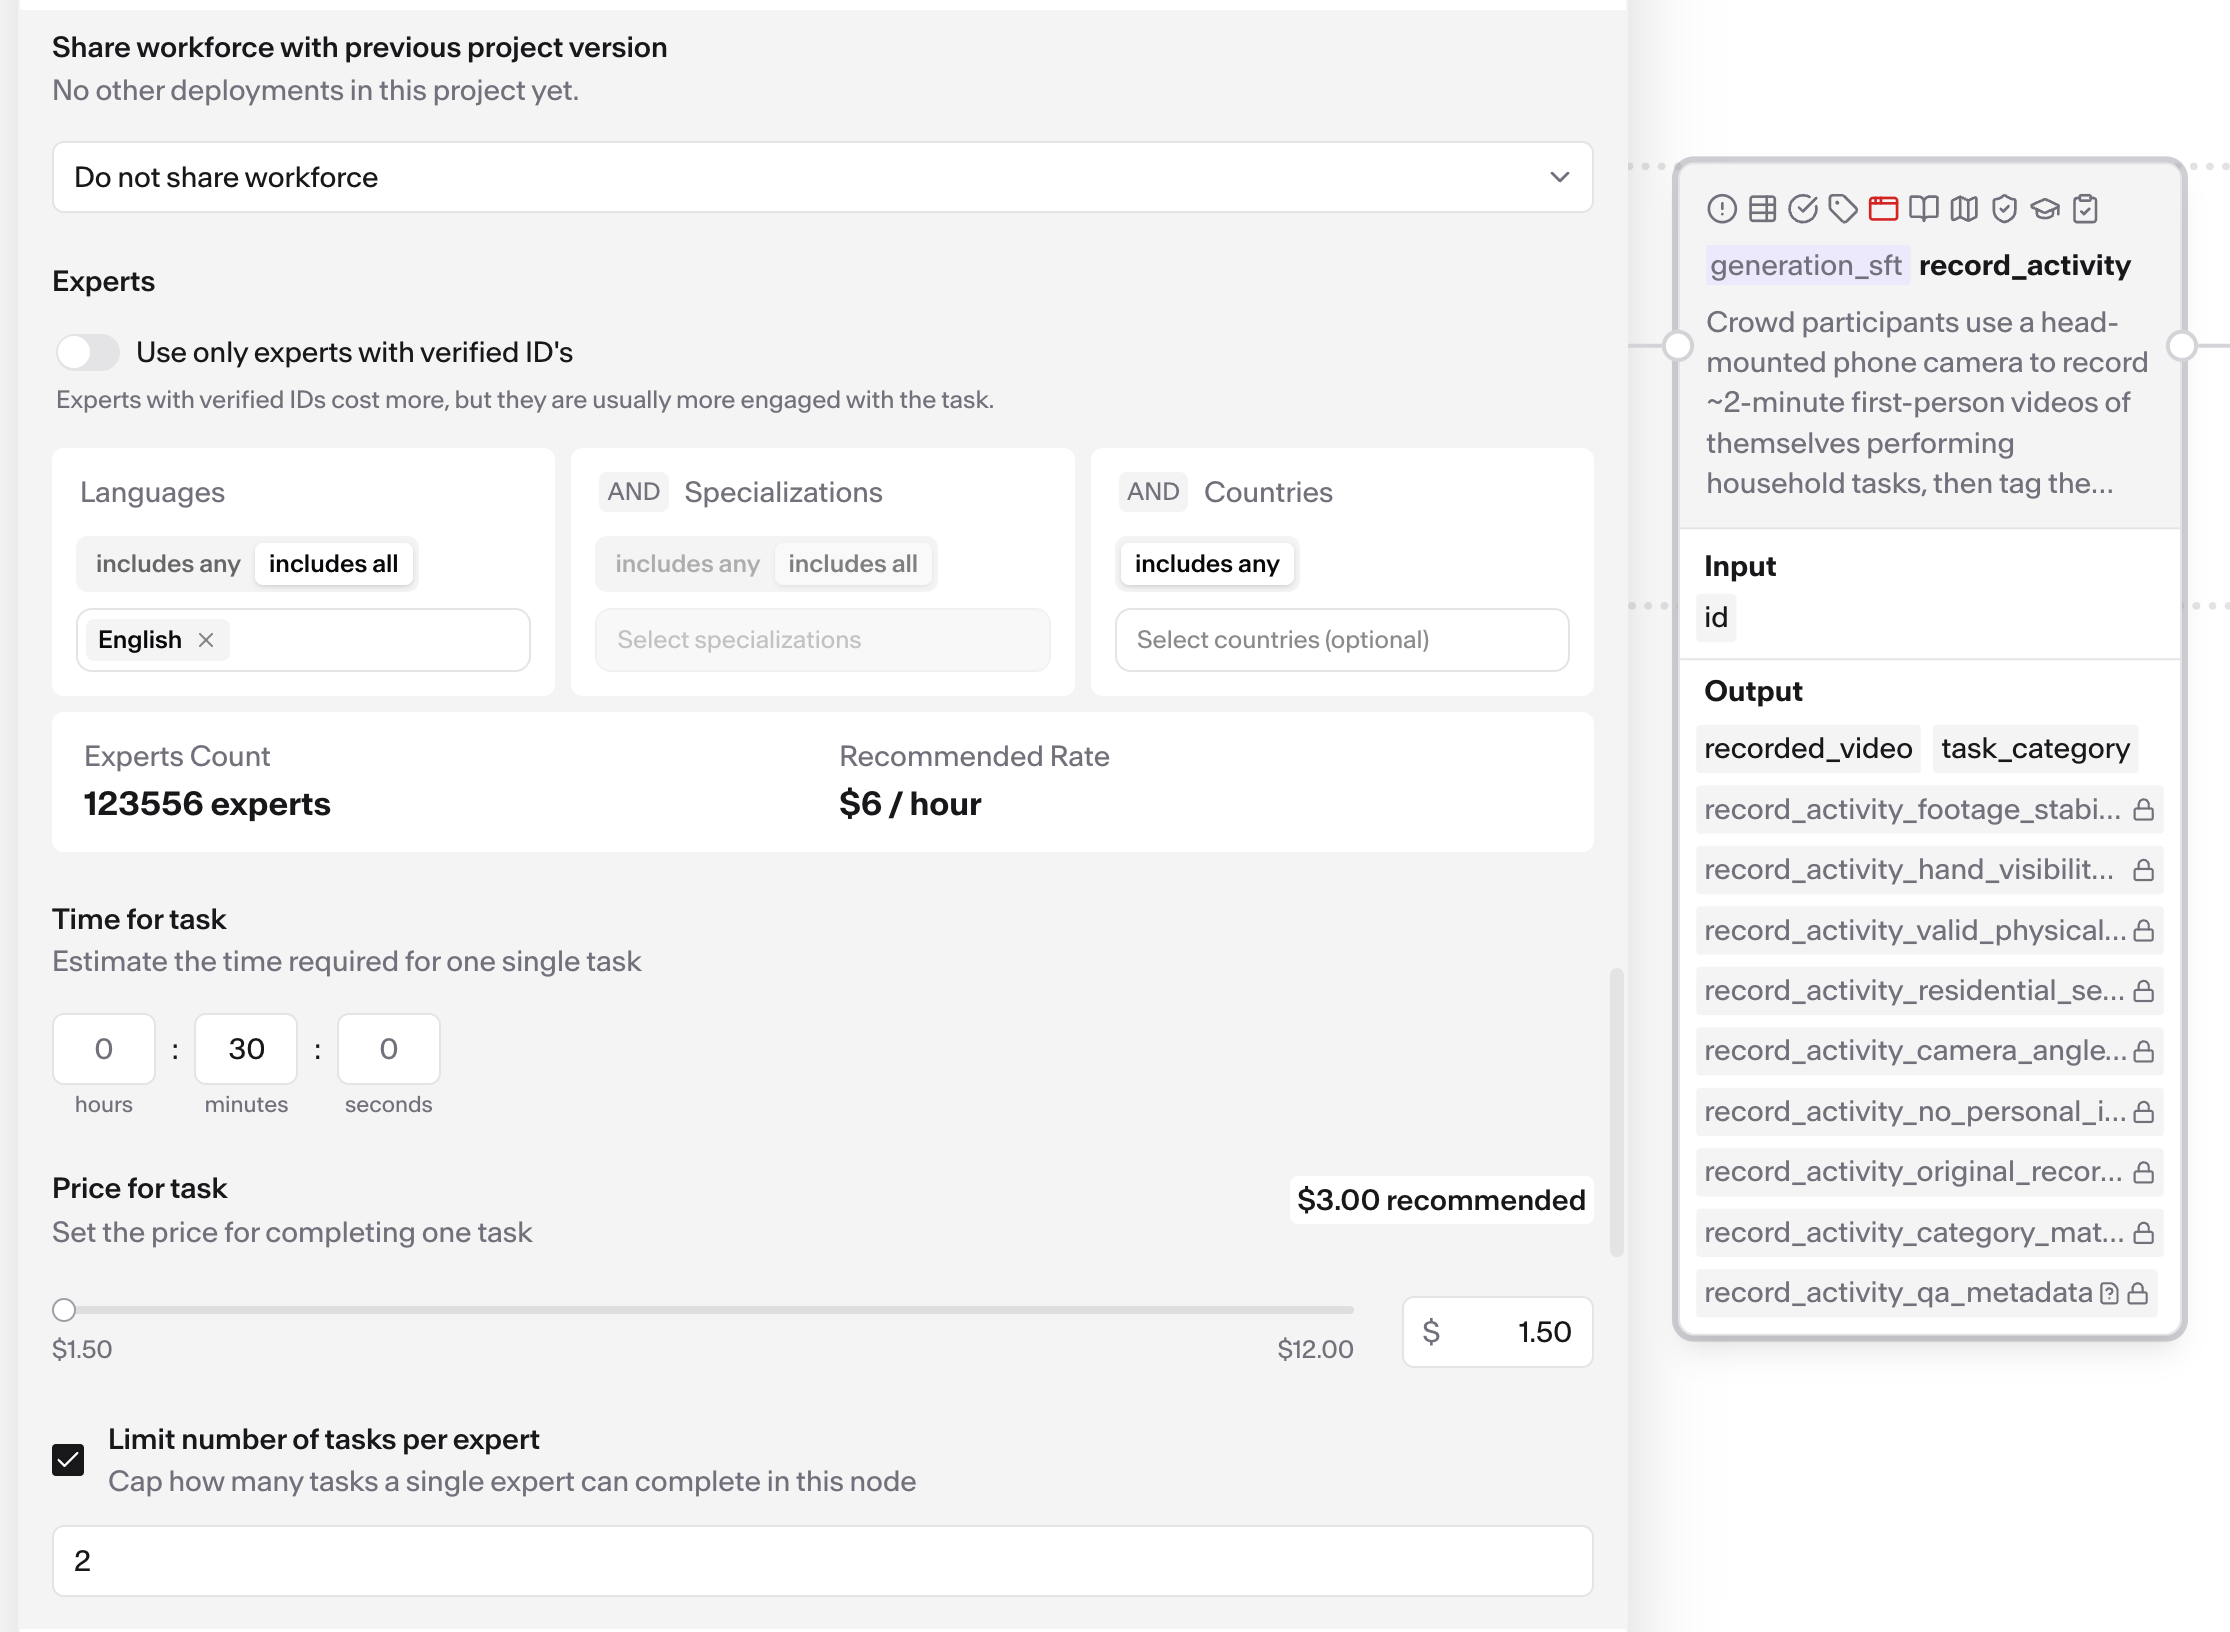
The expert count and recommended rate shown next to your audience filters tell you whether the audience is large enough and whether your price is in the range that pool expects.
Step 7 — Deploy
Section titled “Step 7 — Deploy”Click Deploy.

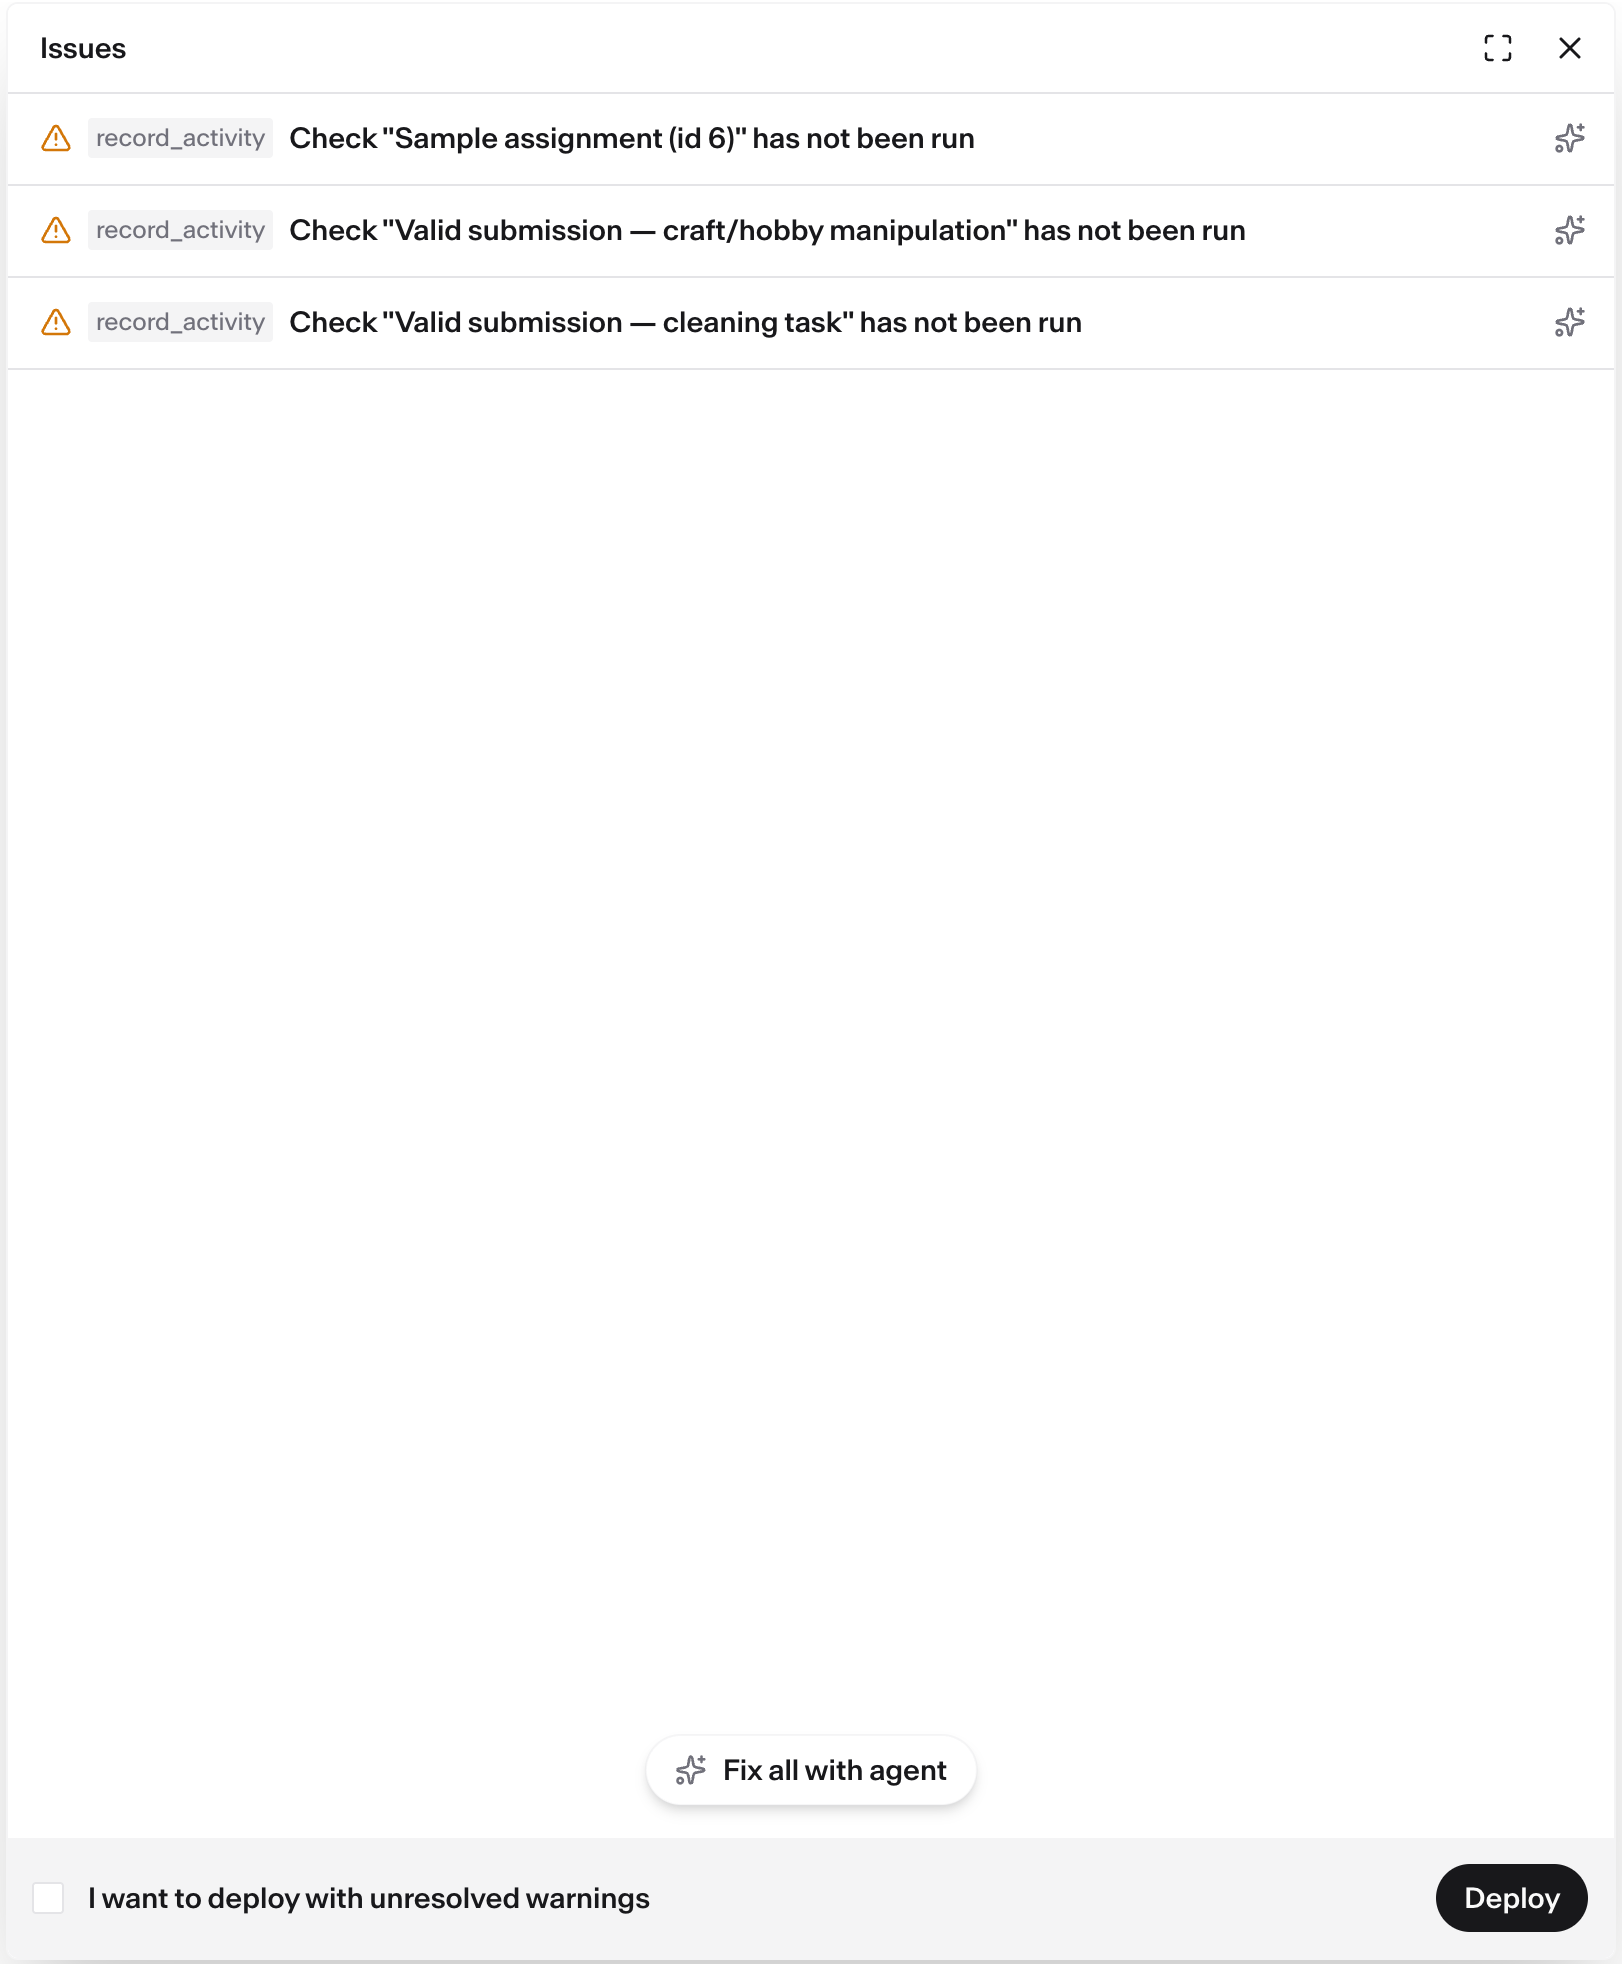
If anything is wrong, an Issues panel opens instead of launching. Errors — in red — block the deploy. Warnings, in orange, do not.
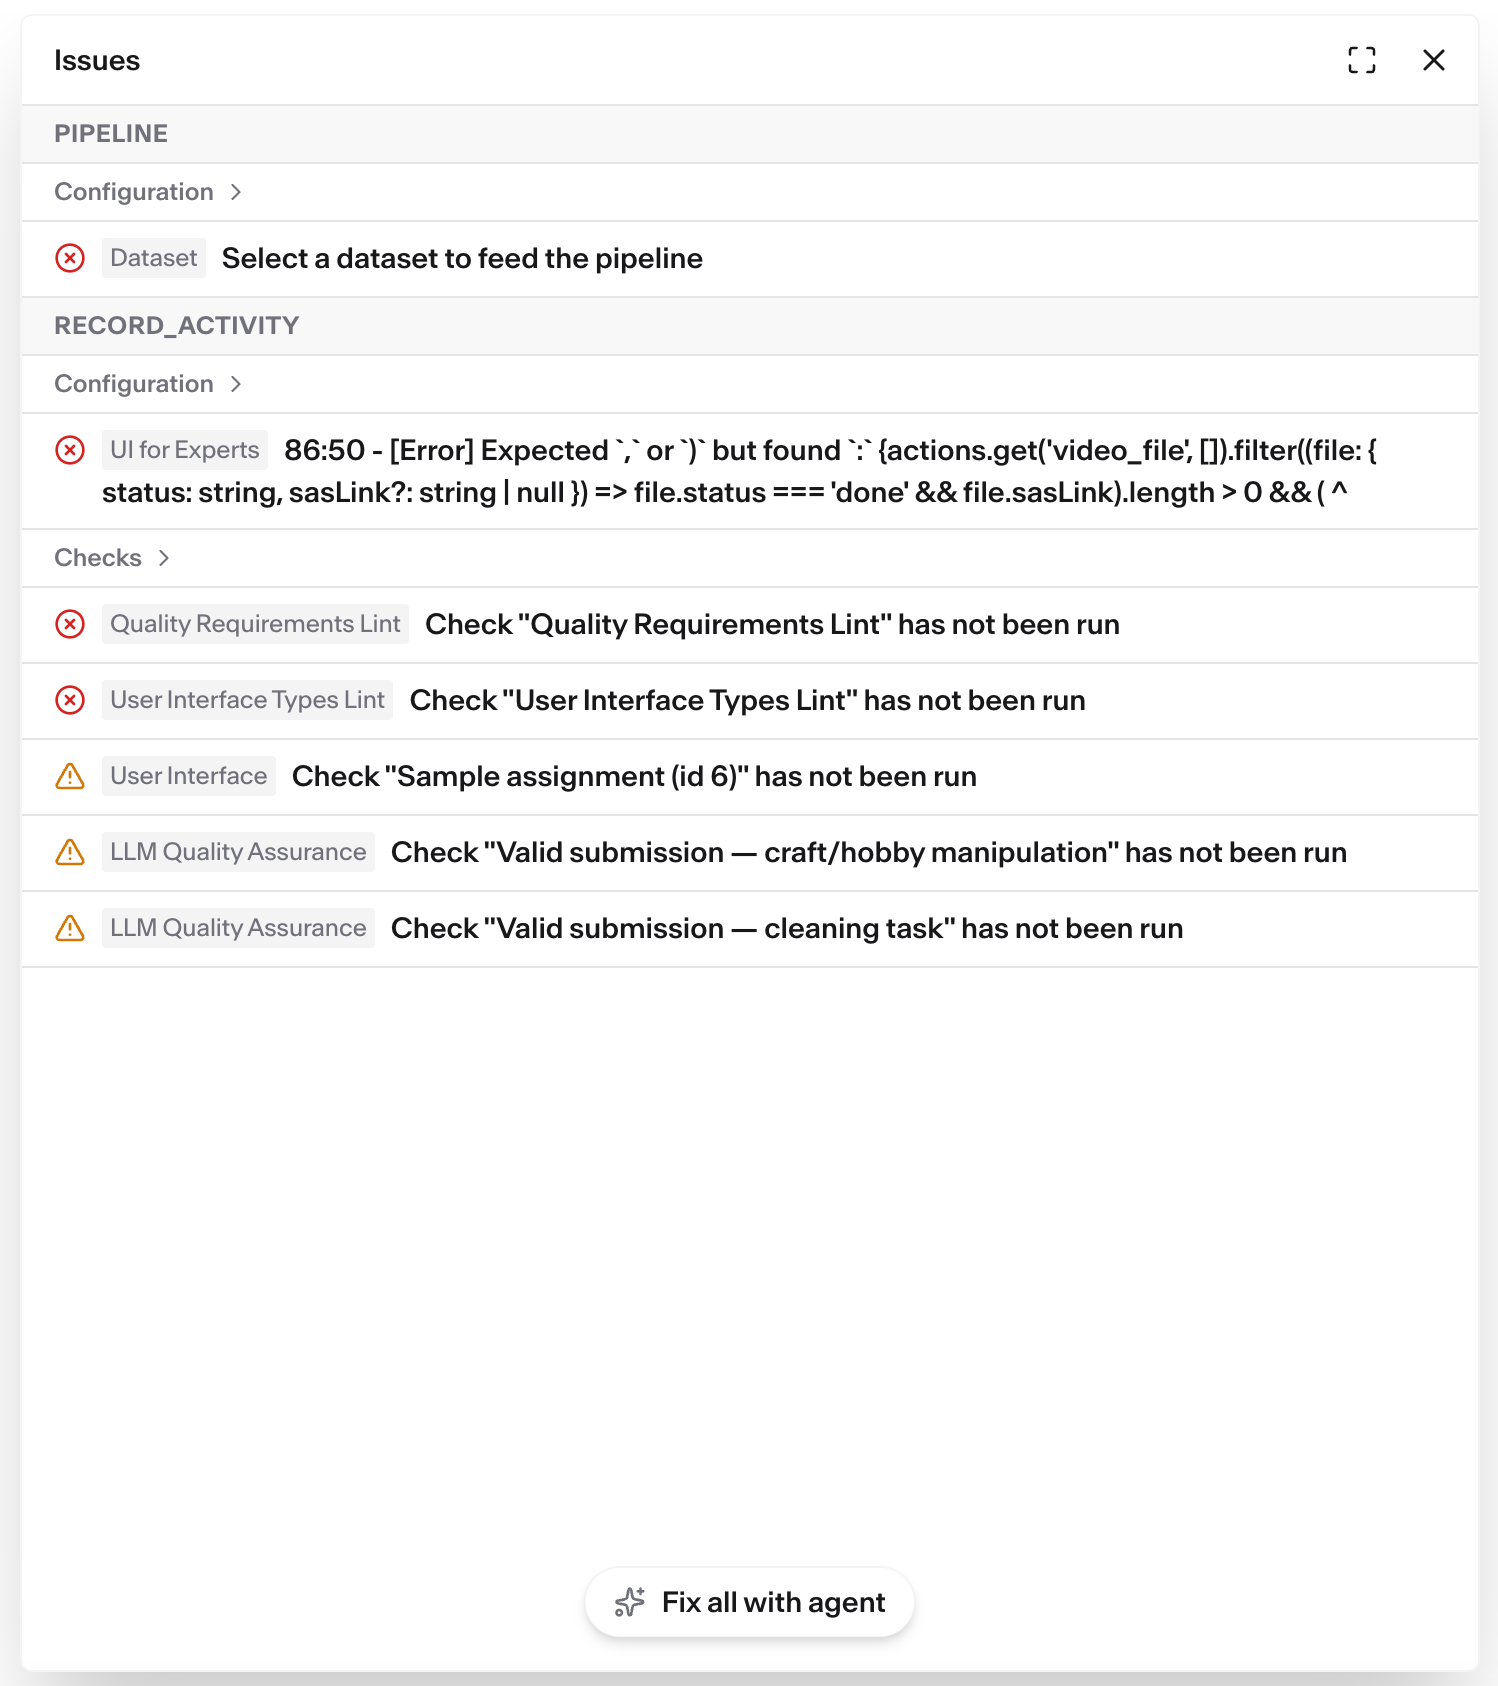
Click Fix all with agent and the assistant works through the list. Then go back to Step 6, check what it changed, and deploy again.
Once no errors remain, you can launch with the warnings still open: tick I want to deploy with unresolved warnings, then click Deploy.
Step 8 — Confirm the cost
Section titled “Step 8 — Confirm the cost”The cost breakdown opens, line by line, with an expected and a maximum total. If it is more than you want to spend, cancel, go back to Step 6, and lower the price per task or the item count.
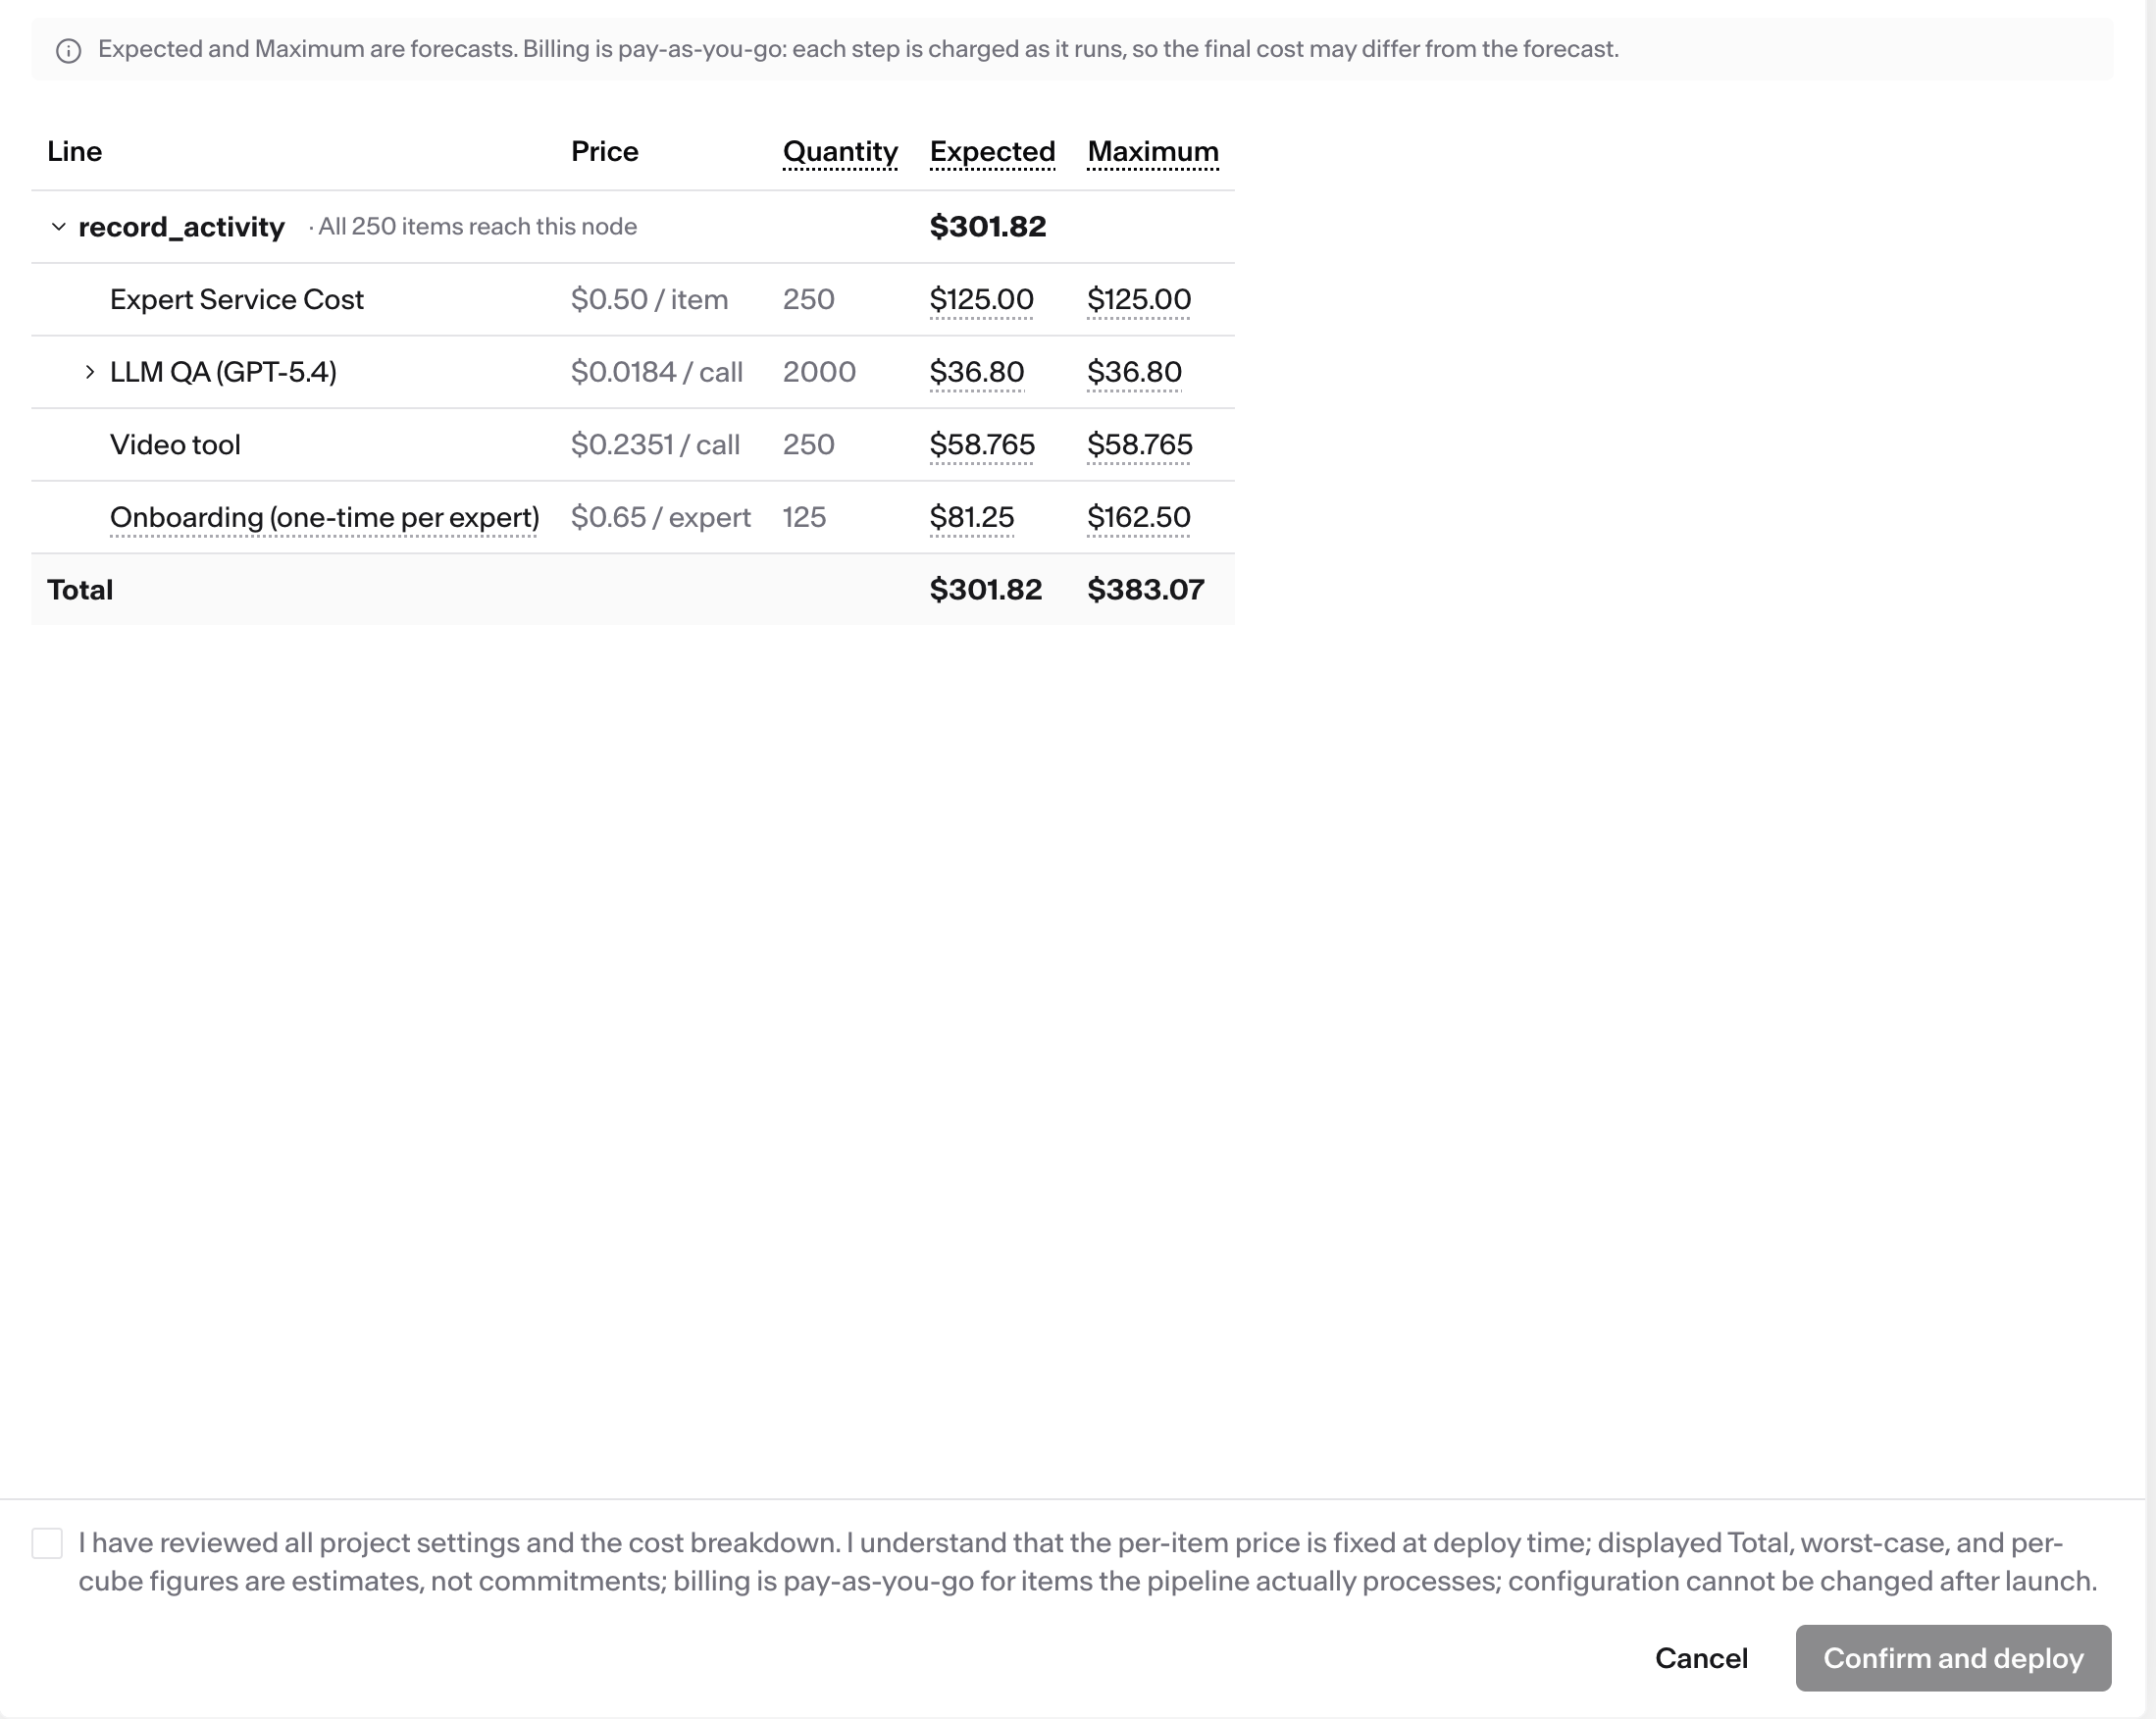
Tick the review checkbox and click Confirm and deploy. Billing is pay-as-you-go: each step is charged as it runs, so the final cost can differ from the forecast. See Pricing and billing for what drives each line.
Step 9 — Wait for the launch
Section titled “Step 9 — Wait for the launch”Launching Pipeline appears and tracks the deploy step by step. It usually takes 5–15 minutes, and you can close the window and come back.
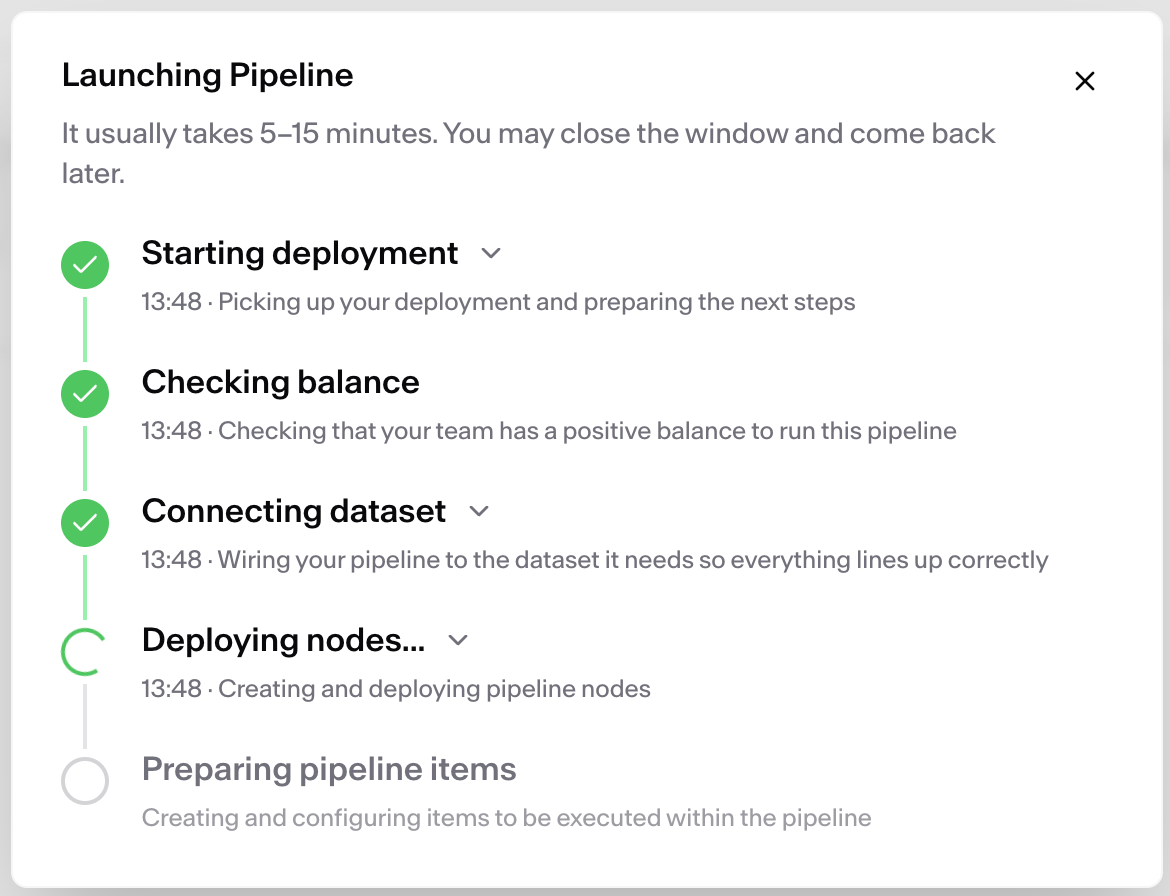
When it finishes, the tasks are live for contributors.
What’s next
Section titled “What’s next”- Export your labeled results when the run has results.
- Resume or cancel a run if you need to stop it.
- Troubleshoot a run if items are not getting done.