

Have the agent build your project
Describe the data you need in plain language, review the plan the agent drafts, and let it build the project before you deploy.
Describe the data you need in plain language. The agent drafts a plan, you review and approve it, and it builds the dataset and the pipeline for you. Use this when no template matches your job.
If you have never run a pipeline before, Get your first labeled dataset walks the same flow on 10 supplied rows, so nothing depends on your own data being right.
Before you start
Section titled “Before you start”You need:
- An account you can sign in to.
- A team with a funded balance, since the deploy at the end is blocked on an empty balance. See Manage your team and balance.
- A clear idea of what you want labeled or collected. The plan you get back is only as good as the description you give.
Step 1 — Say what you need done
Section titled “Step 1 — Say what you need done”Sign in. The home screen asks What do you need done? Click Data collection if you want data that does not exist yet — video, audio, images, in-the-field capture. Click Data labeling if you already have data and need it annotated, ranked, transcribed, or moderated.
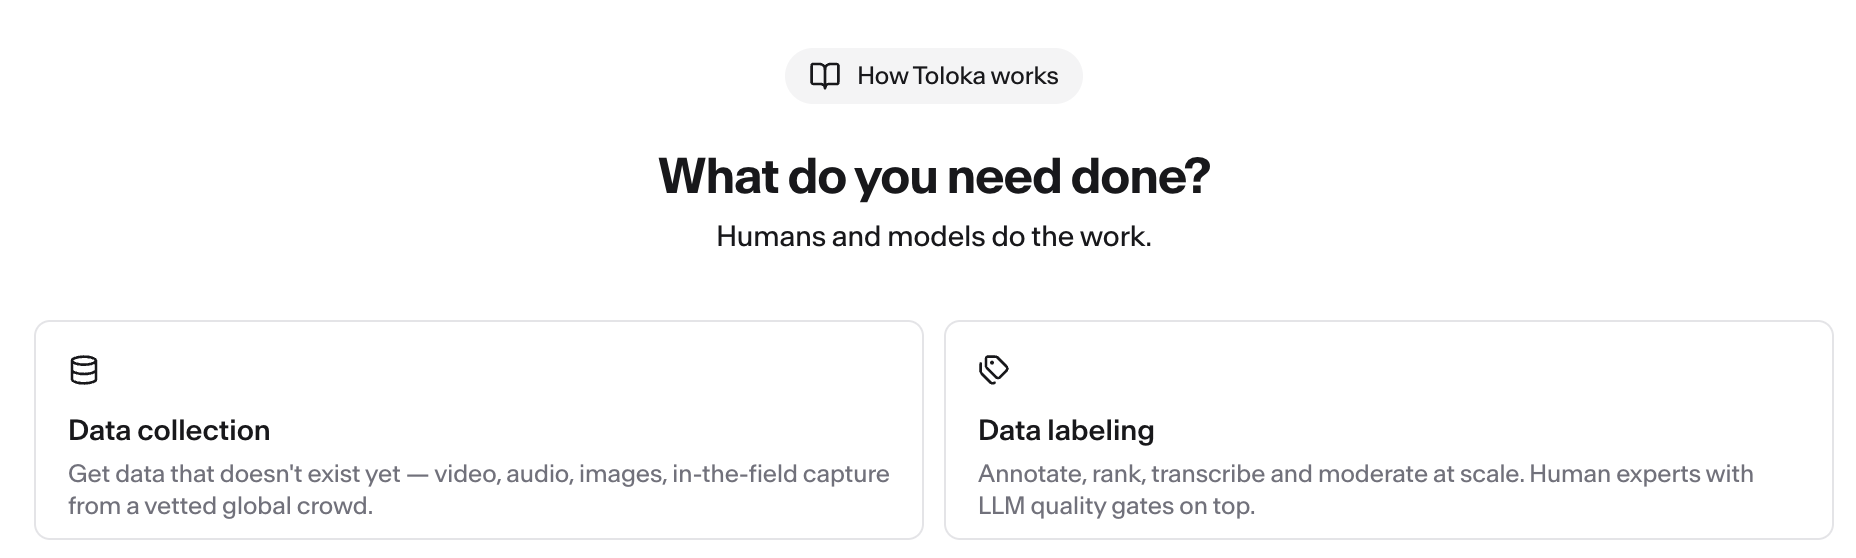
Your choice creates a draft project and opens the Let’s set your task screen. It also tells the assistant which kind of job this is, so the description field asks you for the right things.
Step 2 — Describe what you need
Section titled “Step 2 — Describe what you need”Write what you want in the description field. For a collection job, cover the artifacts you want recorded or sourced, the volume, the format, who may take part, your quality requirements, and how you want the result delivered. For a labeling job, cover your existing data, the label schema, the edge cases, your quality requirements, and the output you need. You can attach files — a dataset, a spec, examples of good and bad answers.
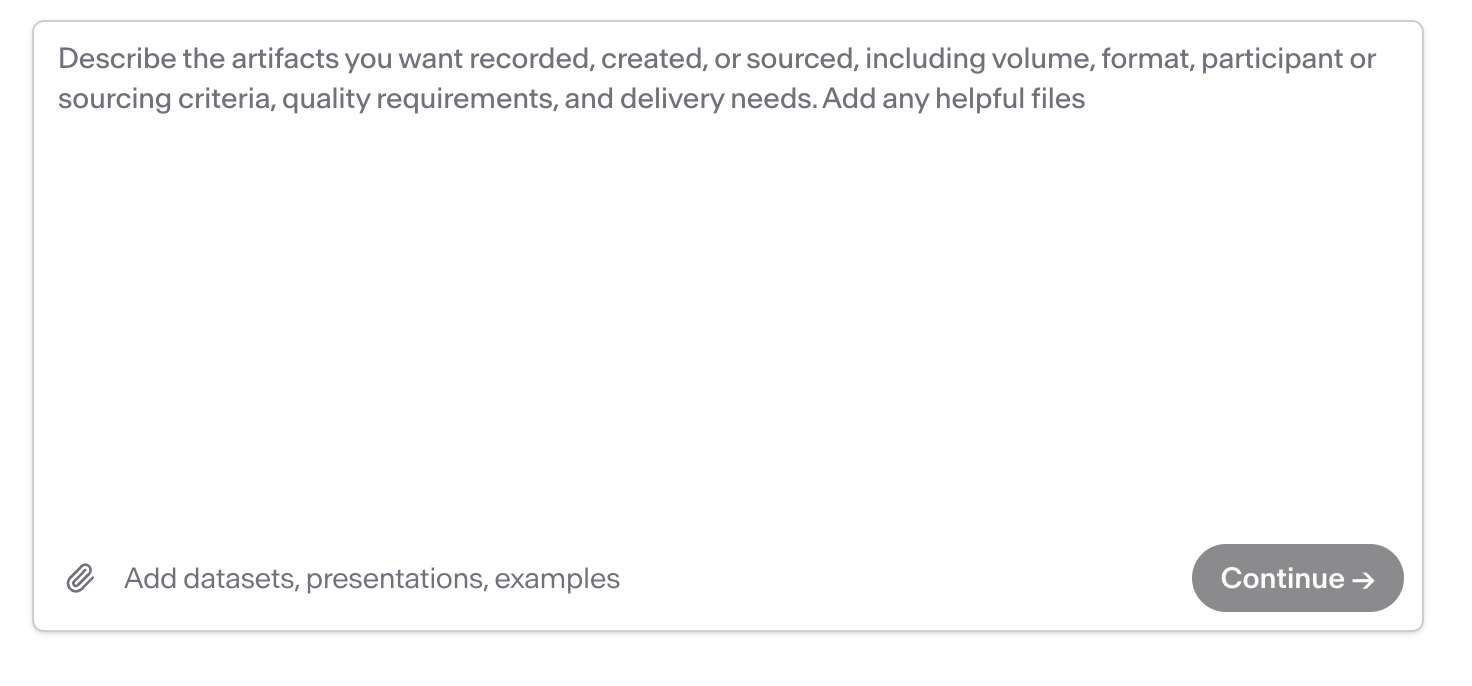
Then click Continue →. Your description is sent to the assistant as the first message.
Step 3 — Wait for the plan
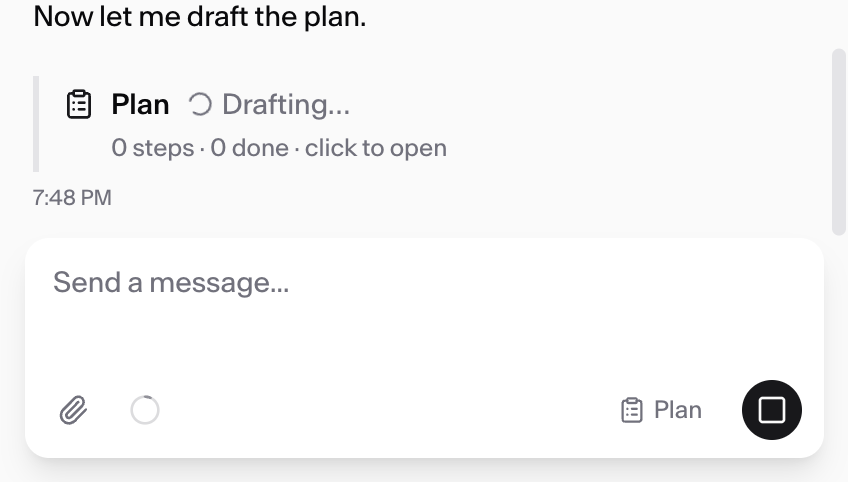
Section titled “Step 3 — Wait for the plan”The assistant works through your description and drafts a plan. A Plan card appears in the chat with a step count; click it to open.
Step 4 — Review and approve the plan
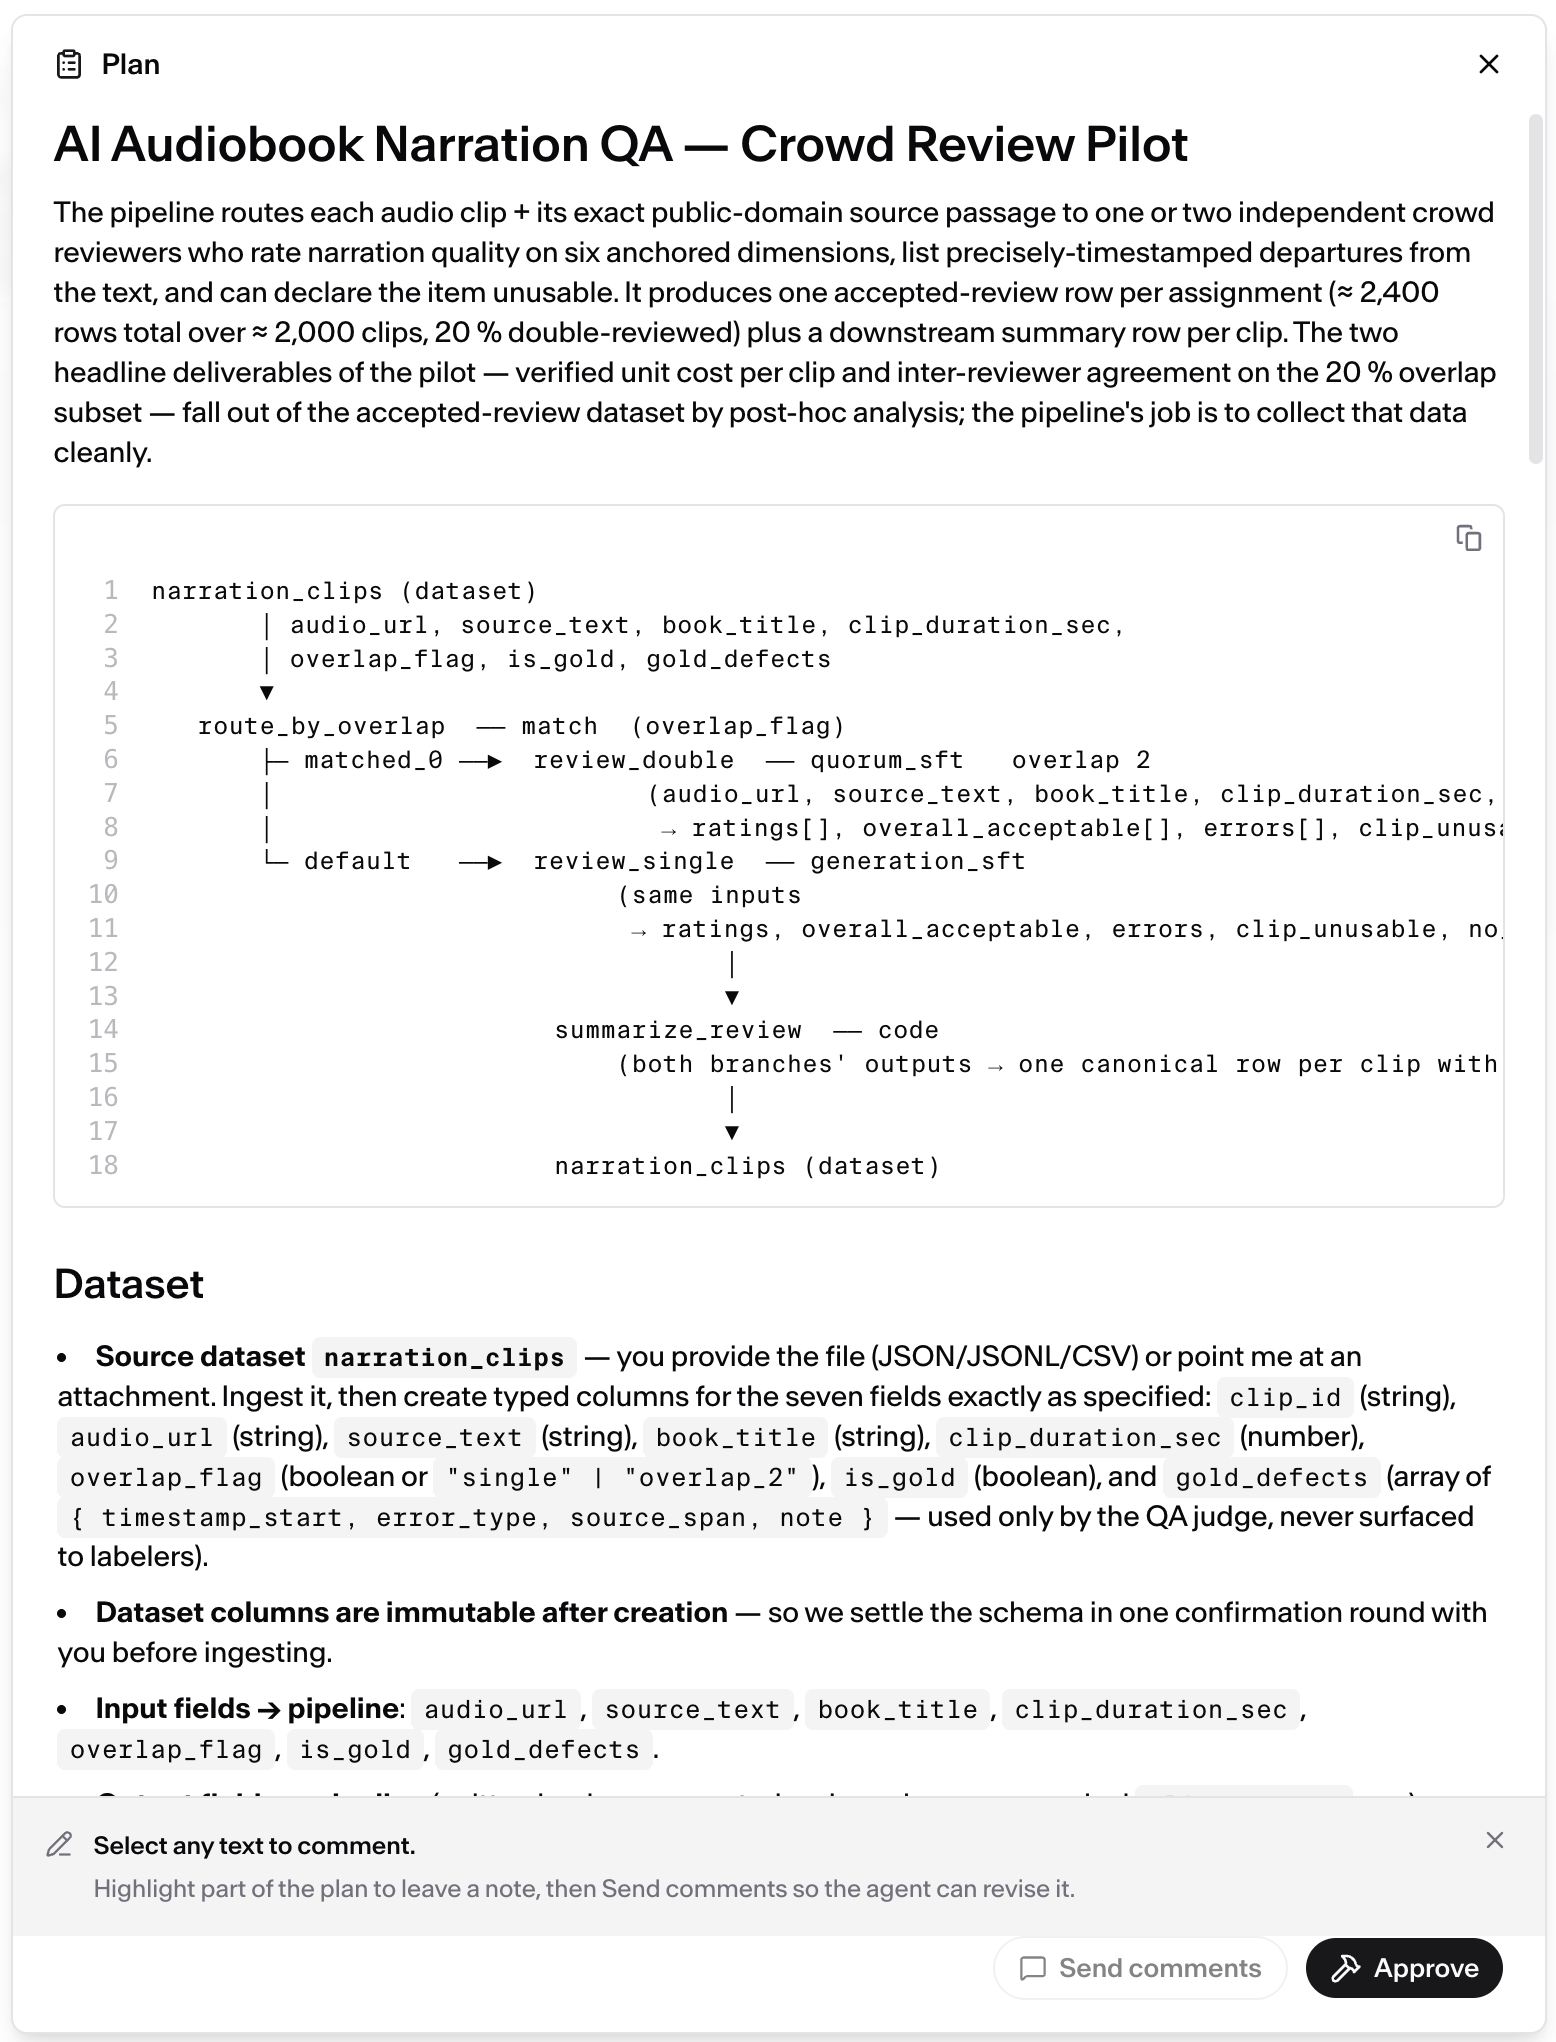
Section titled “Step 4 — Review and approve the plan”The plan spells out the pipeline it intends to build, the dataset it expects, and the fields on each. Read it against your job — this is the point where a misunderstanding is cheap to fix.
To change something, select the text you disagree with, leave a note, and click Send comments. The agent revises and comes back. When the plan is right, click Approve.
Step 5 — Answer questions during the build
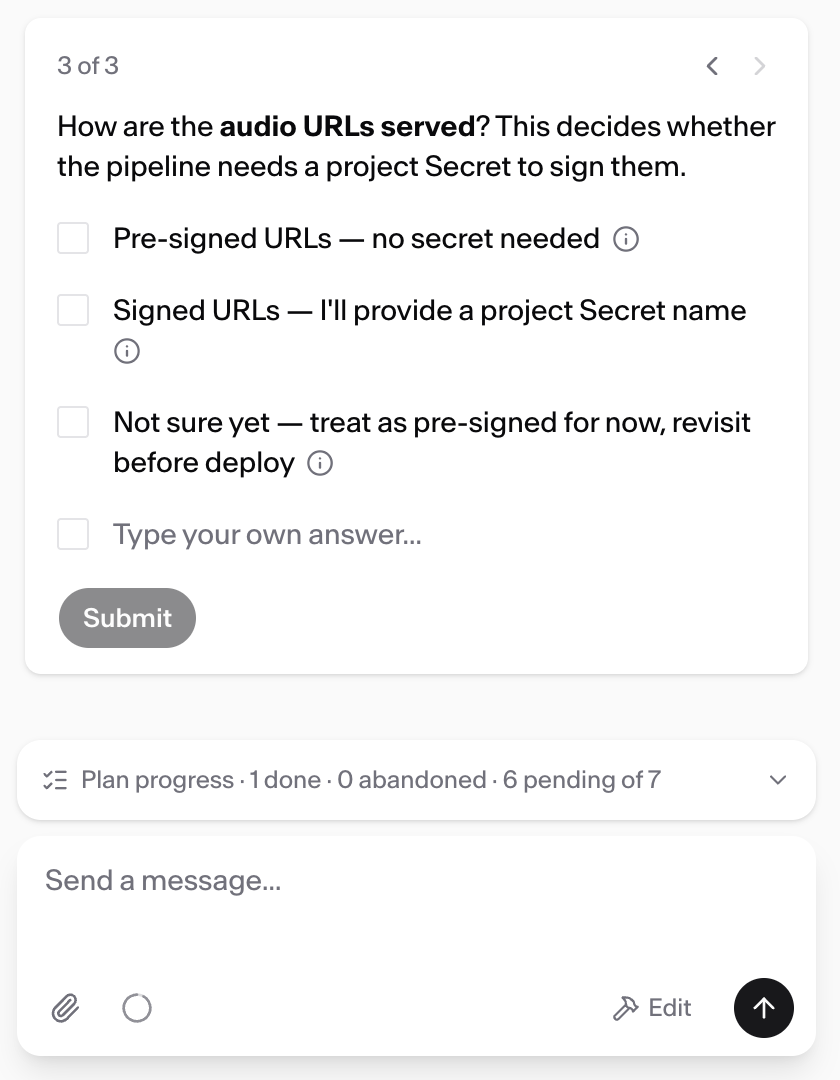
Section titled “Step 5 — Answer questions during the build”Once approved, the agent starts building. Where your description left something open, it stops and asks rather than guessing. Questions come with suggested answers and a free-text option, and the plan progress line below shows how far along it is.
Step 6 — Watch the project take shape
Section titled “Step 6 — Watch the project take shape”Within a couple of minutes, parts of the project start appearing. You do not have to wait for the agent to finish before looking.
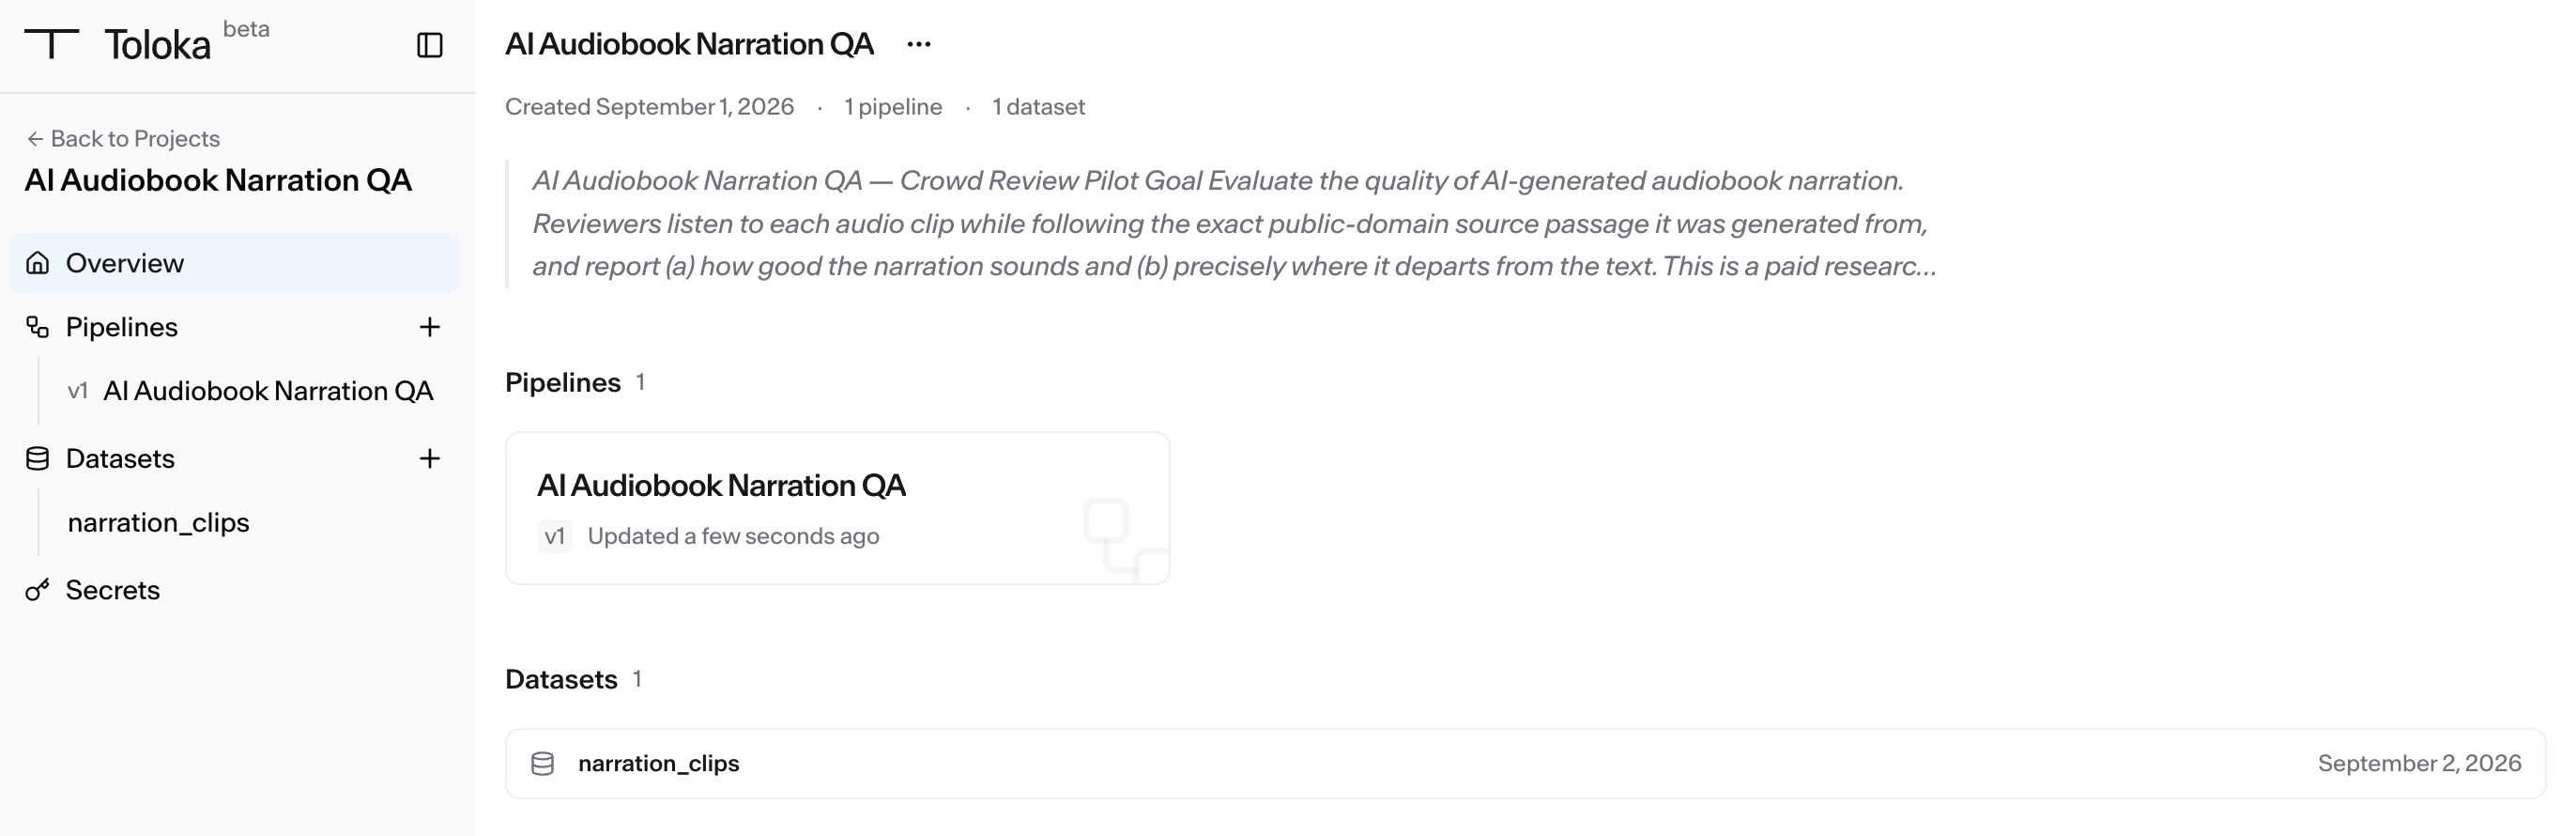
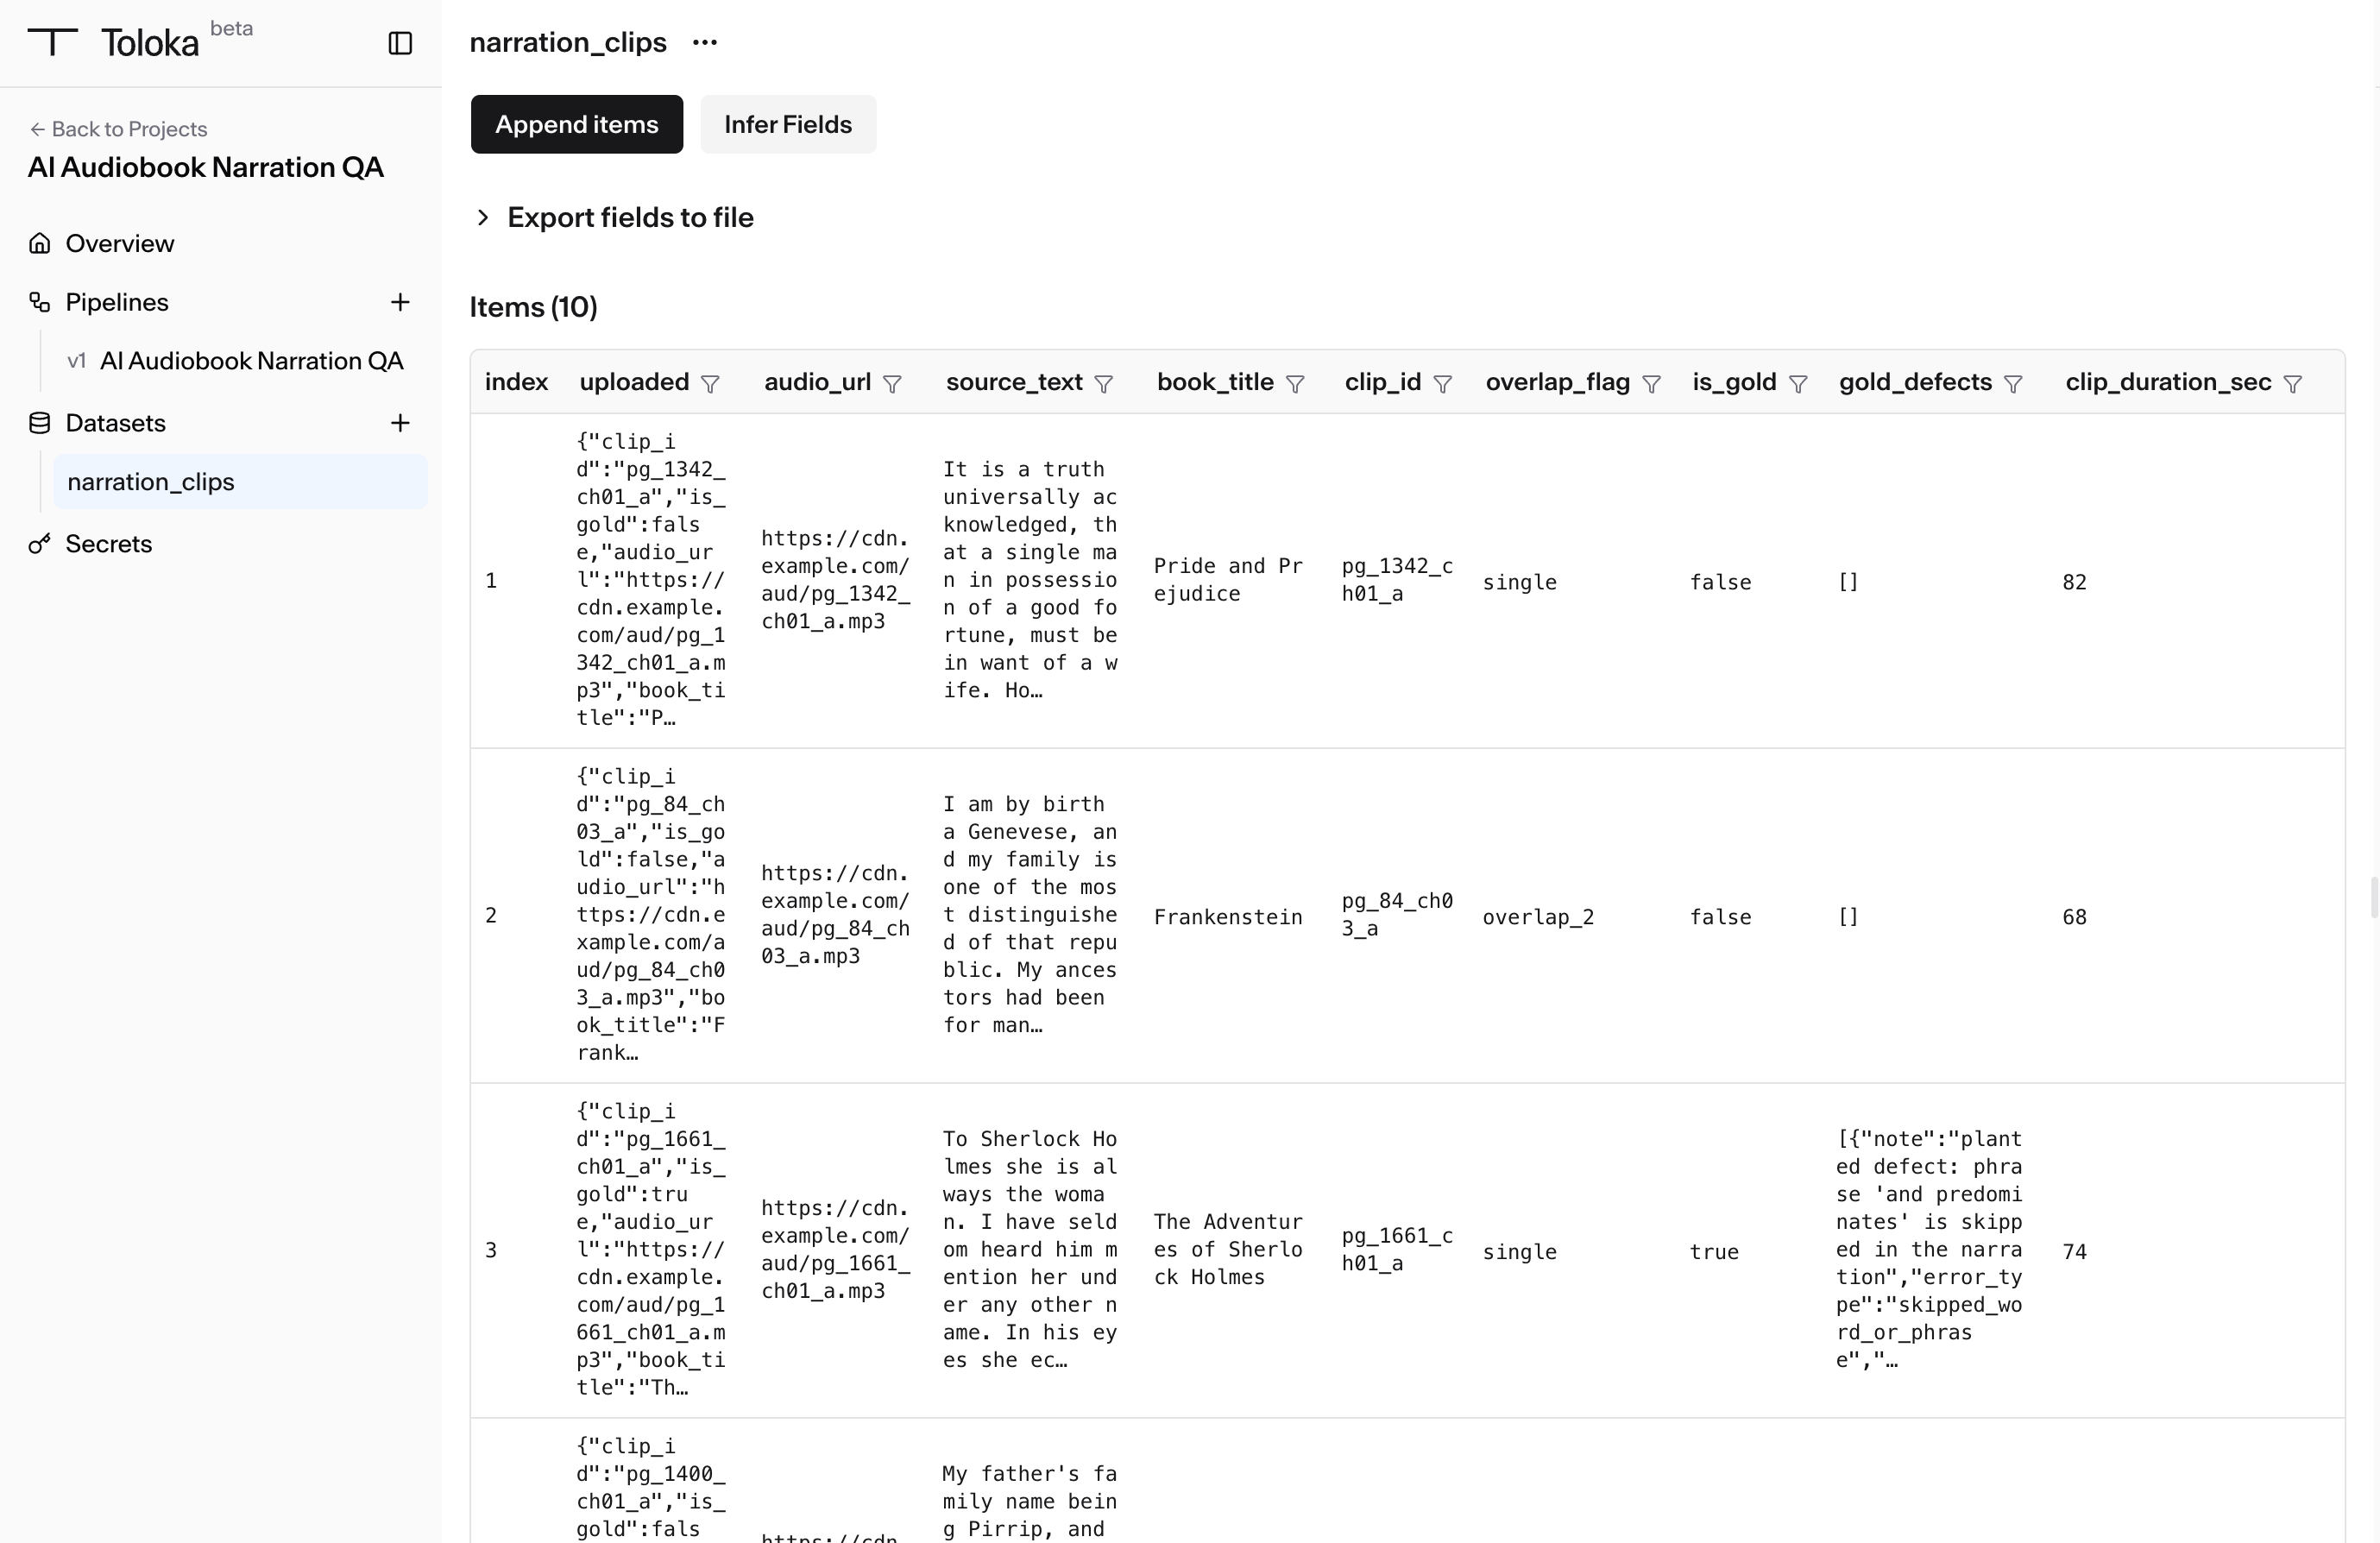
Under Datasets you can upload a main or golden dataset, review what you already have, and download a dataset. Results from the crowd land here too.
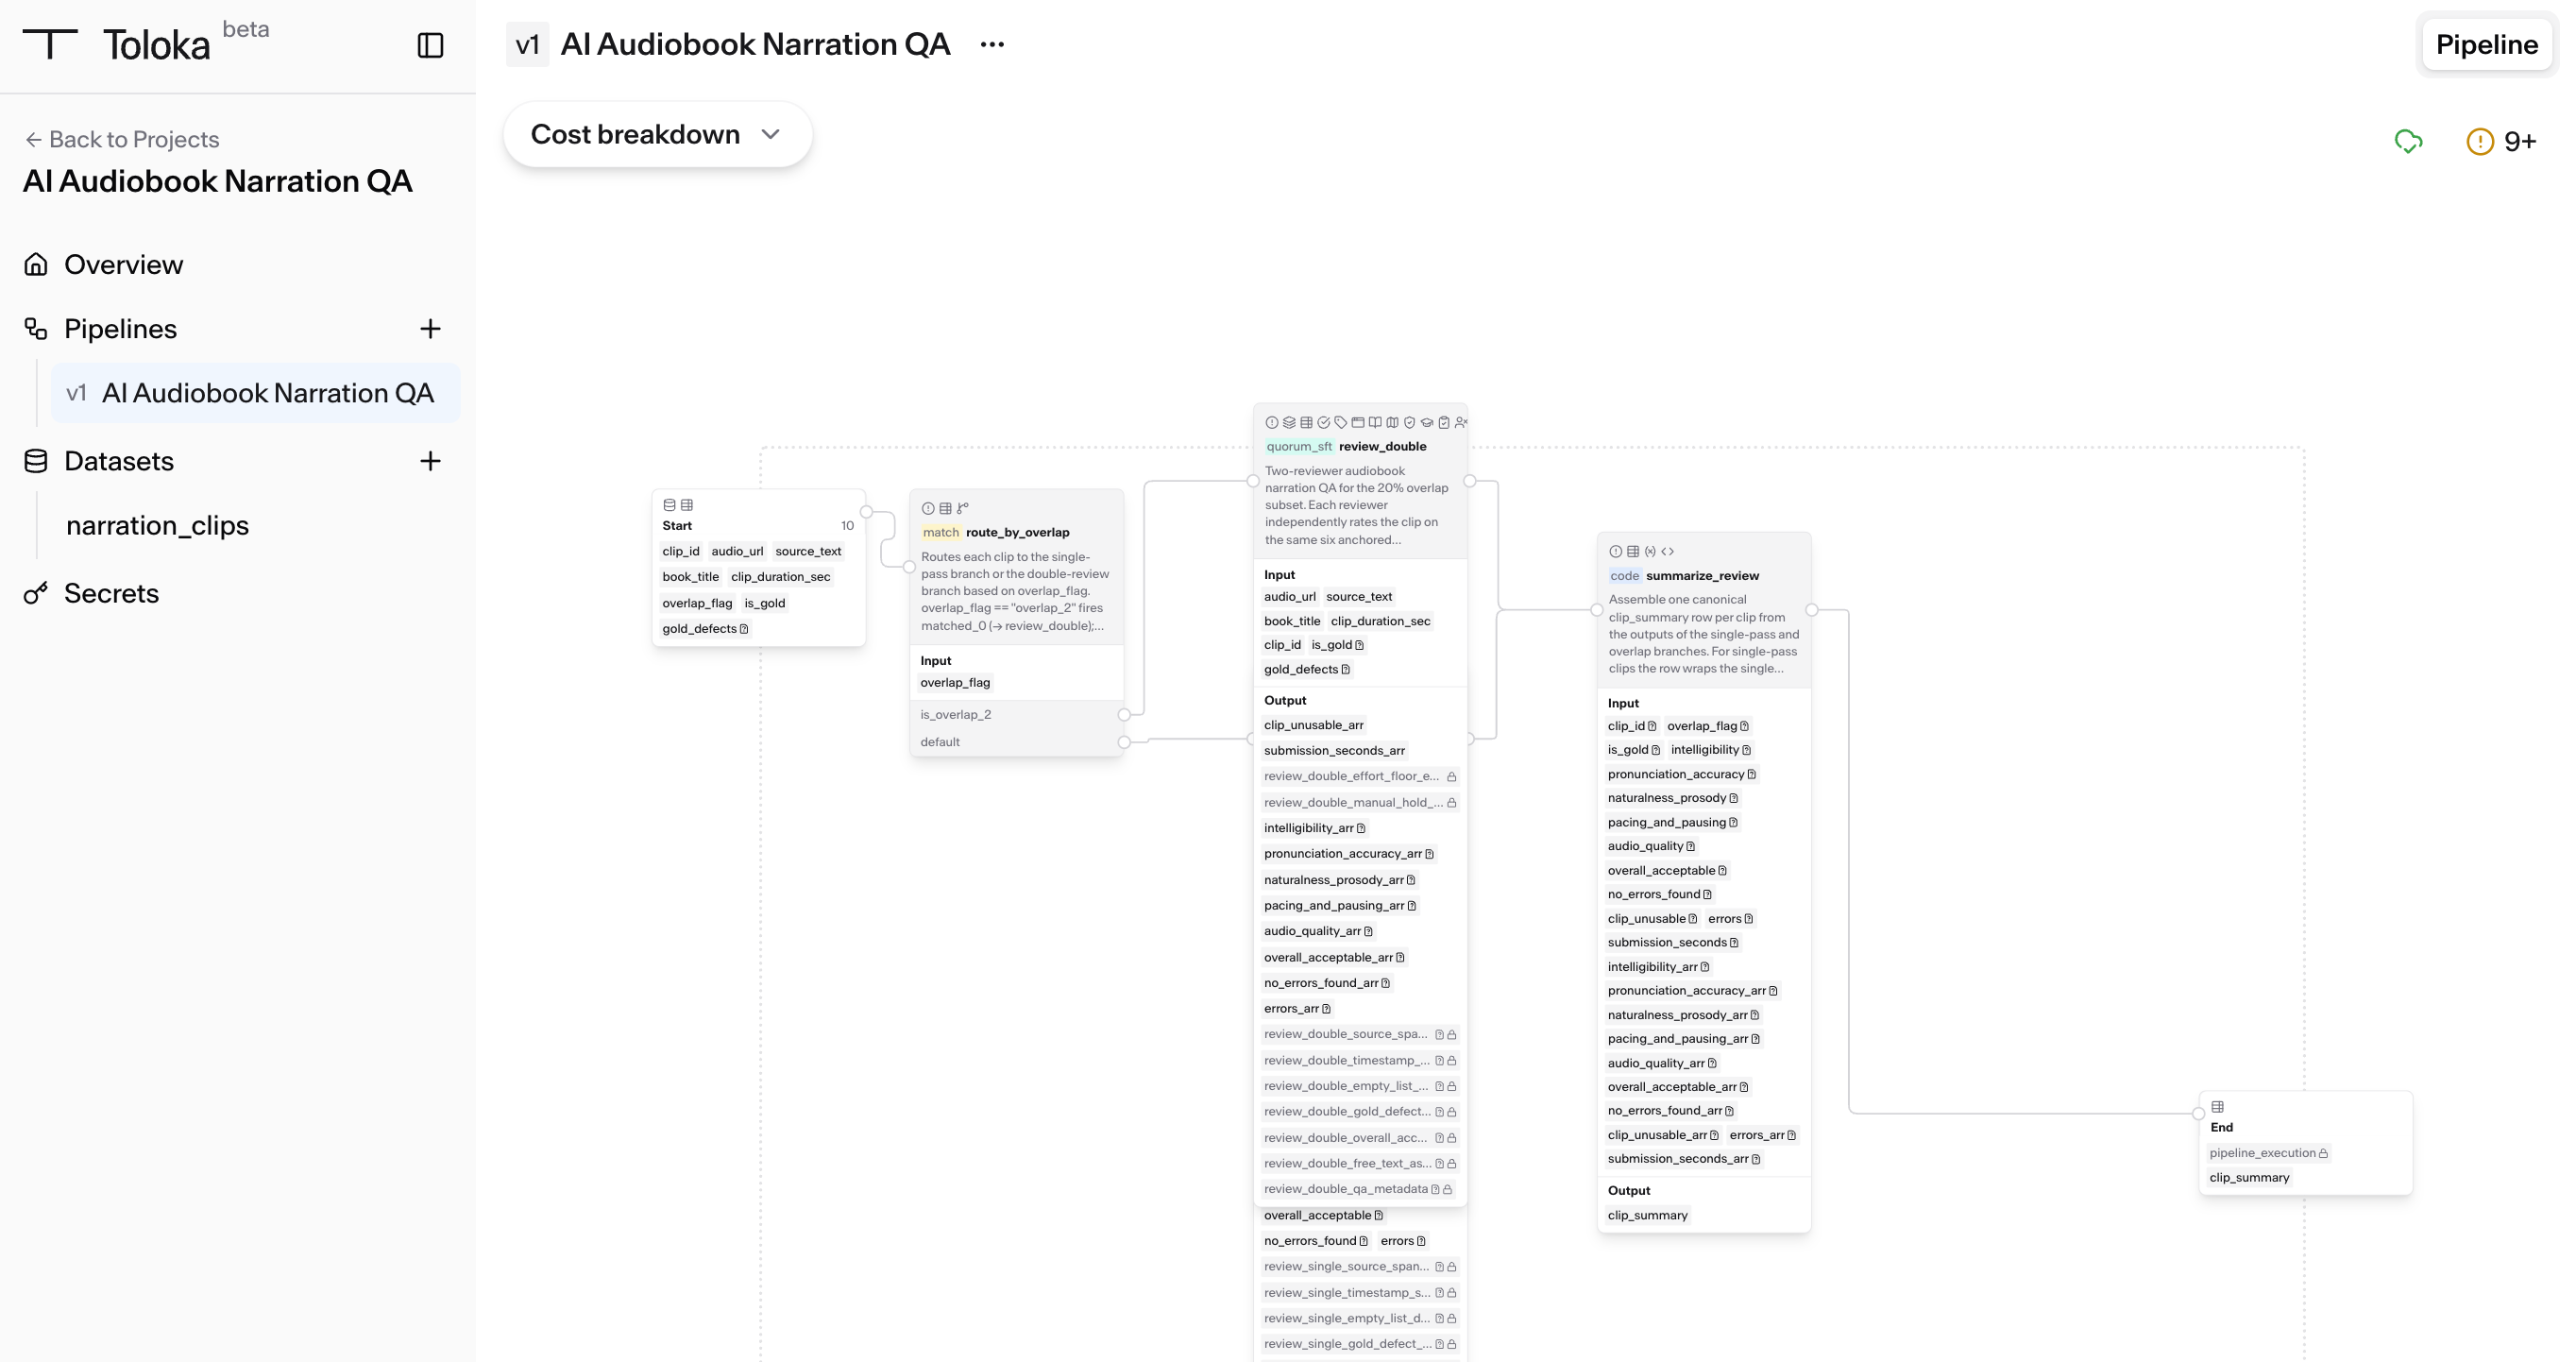
Under Pipelines you get the pipeline the agent is building. This is where you inspect what it created, add components, and change settings yourself — price, quality criteria, the interface contributors see.
Step 7 — Read the hand-off
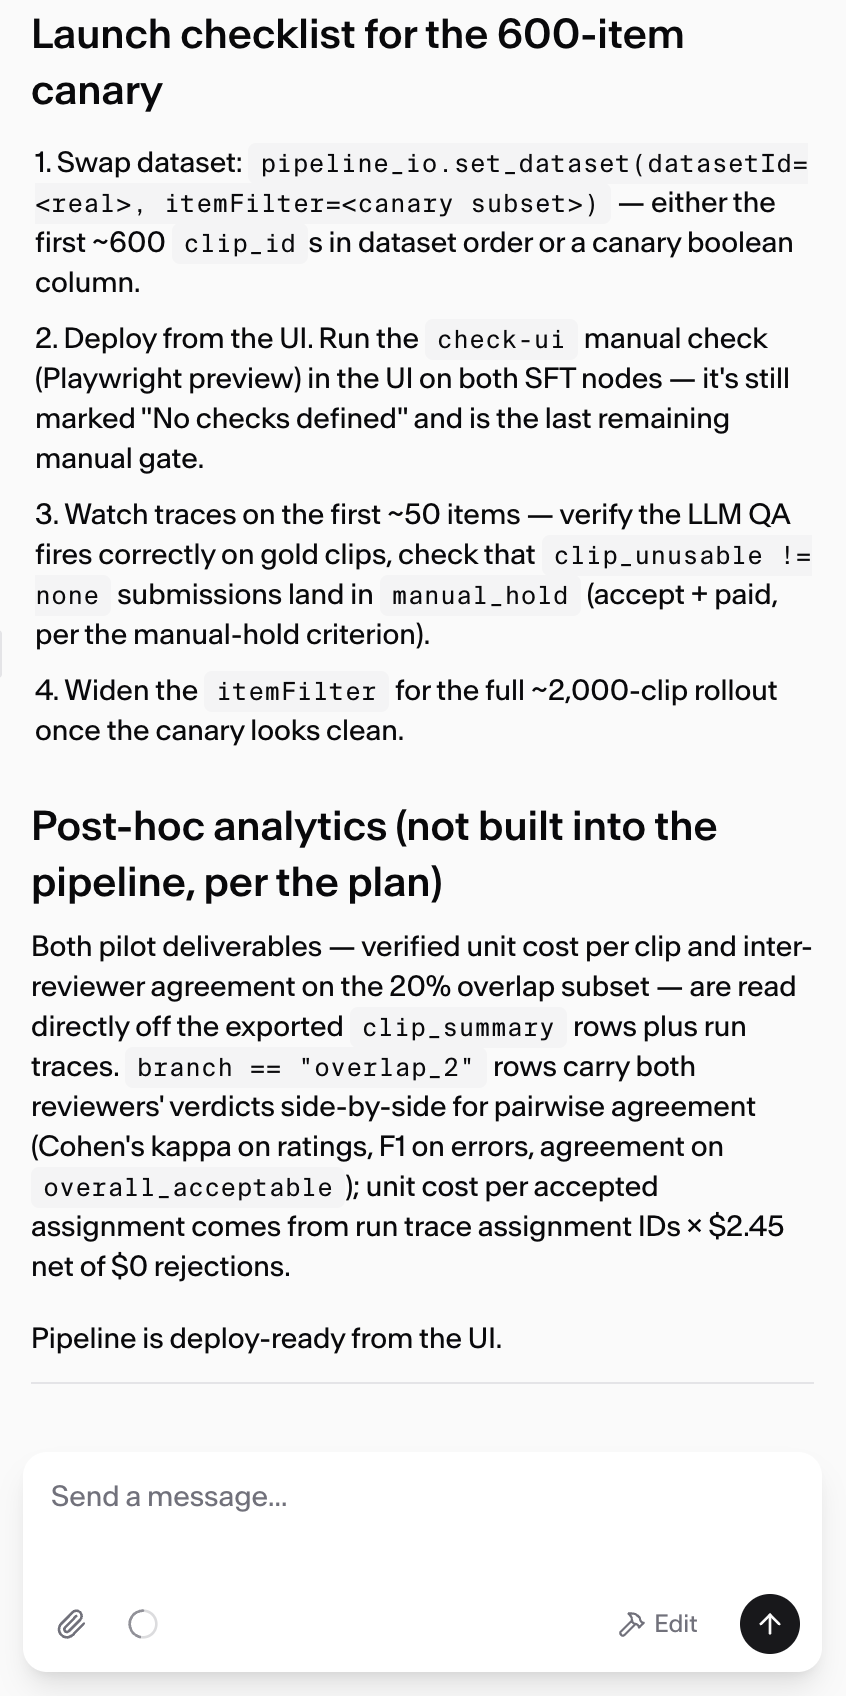
Section titled “Step 7 — Read the hand-off”When the agent finishes, it says in the chat what it built, what to keep in mind, and how to proceed. Anything you want changed, ask for it in the chat or change it yourself in the pipeline.
Step 8 — Review each node
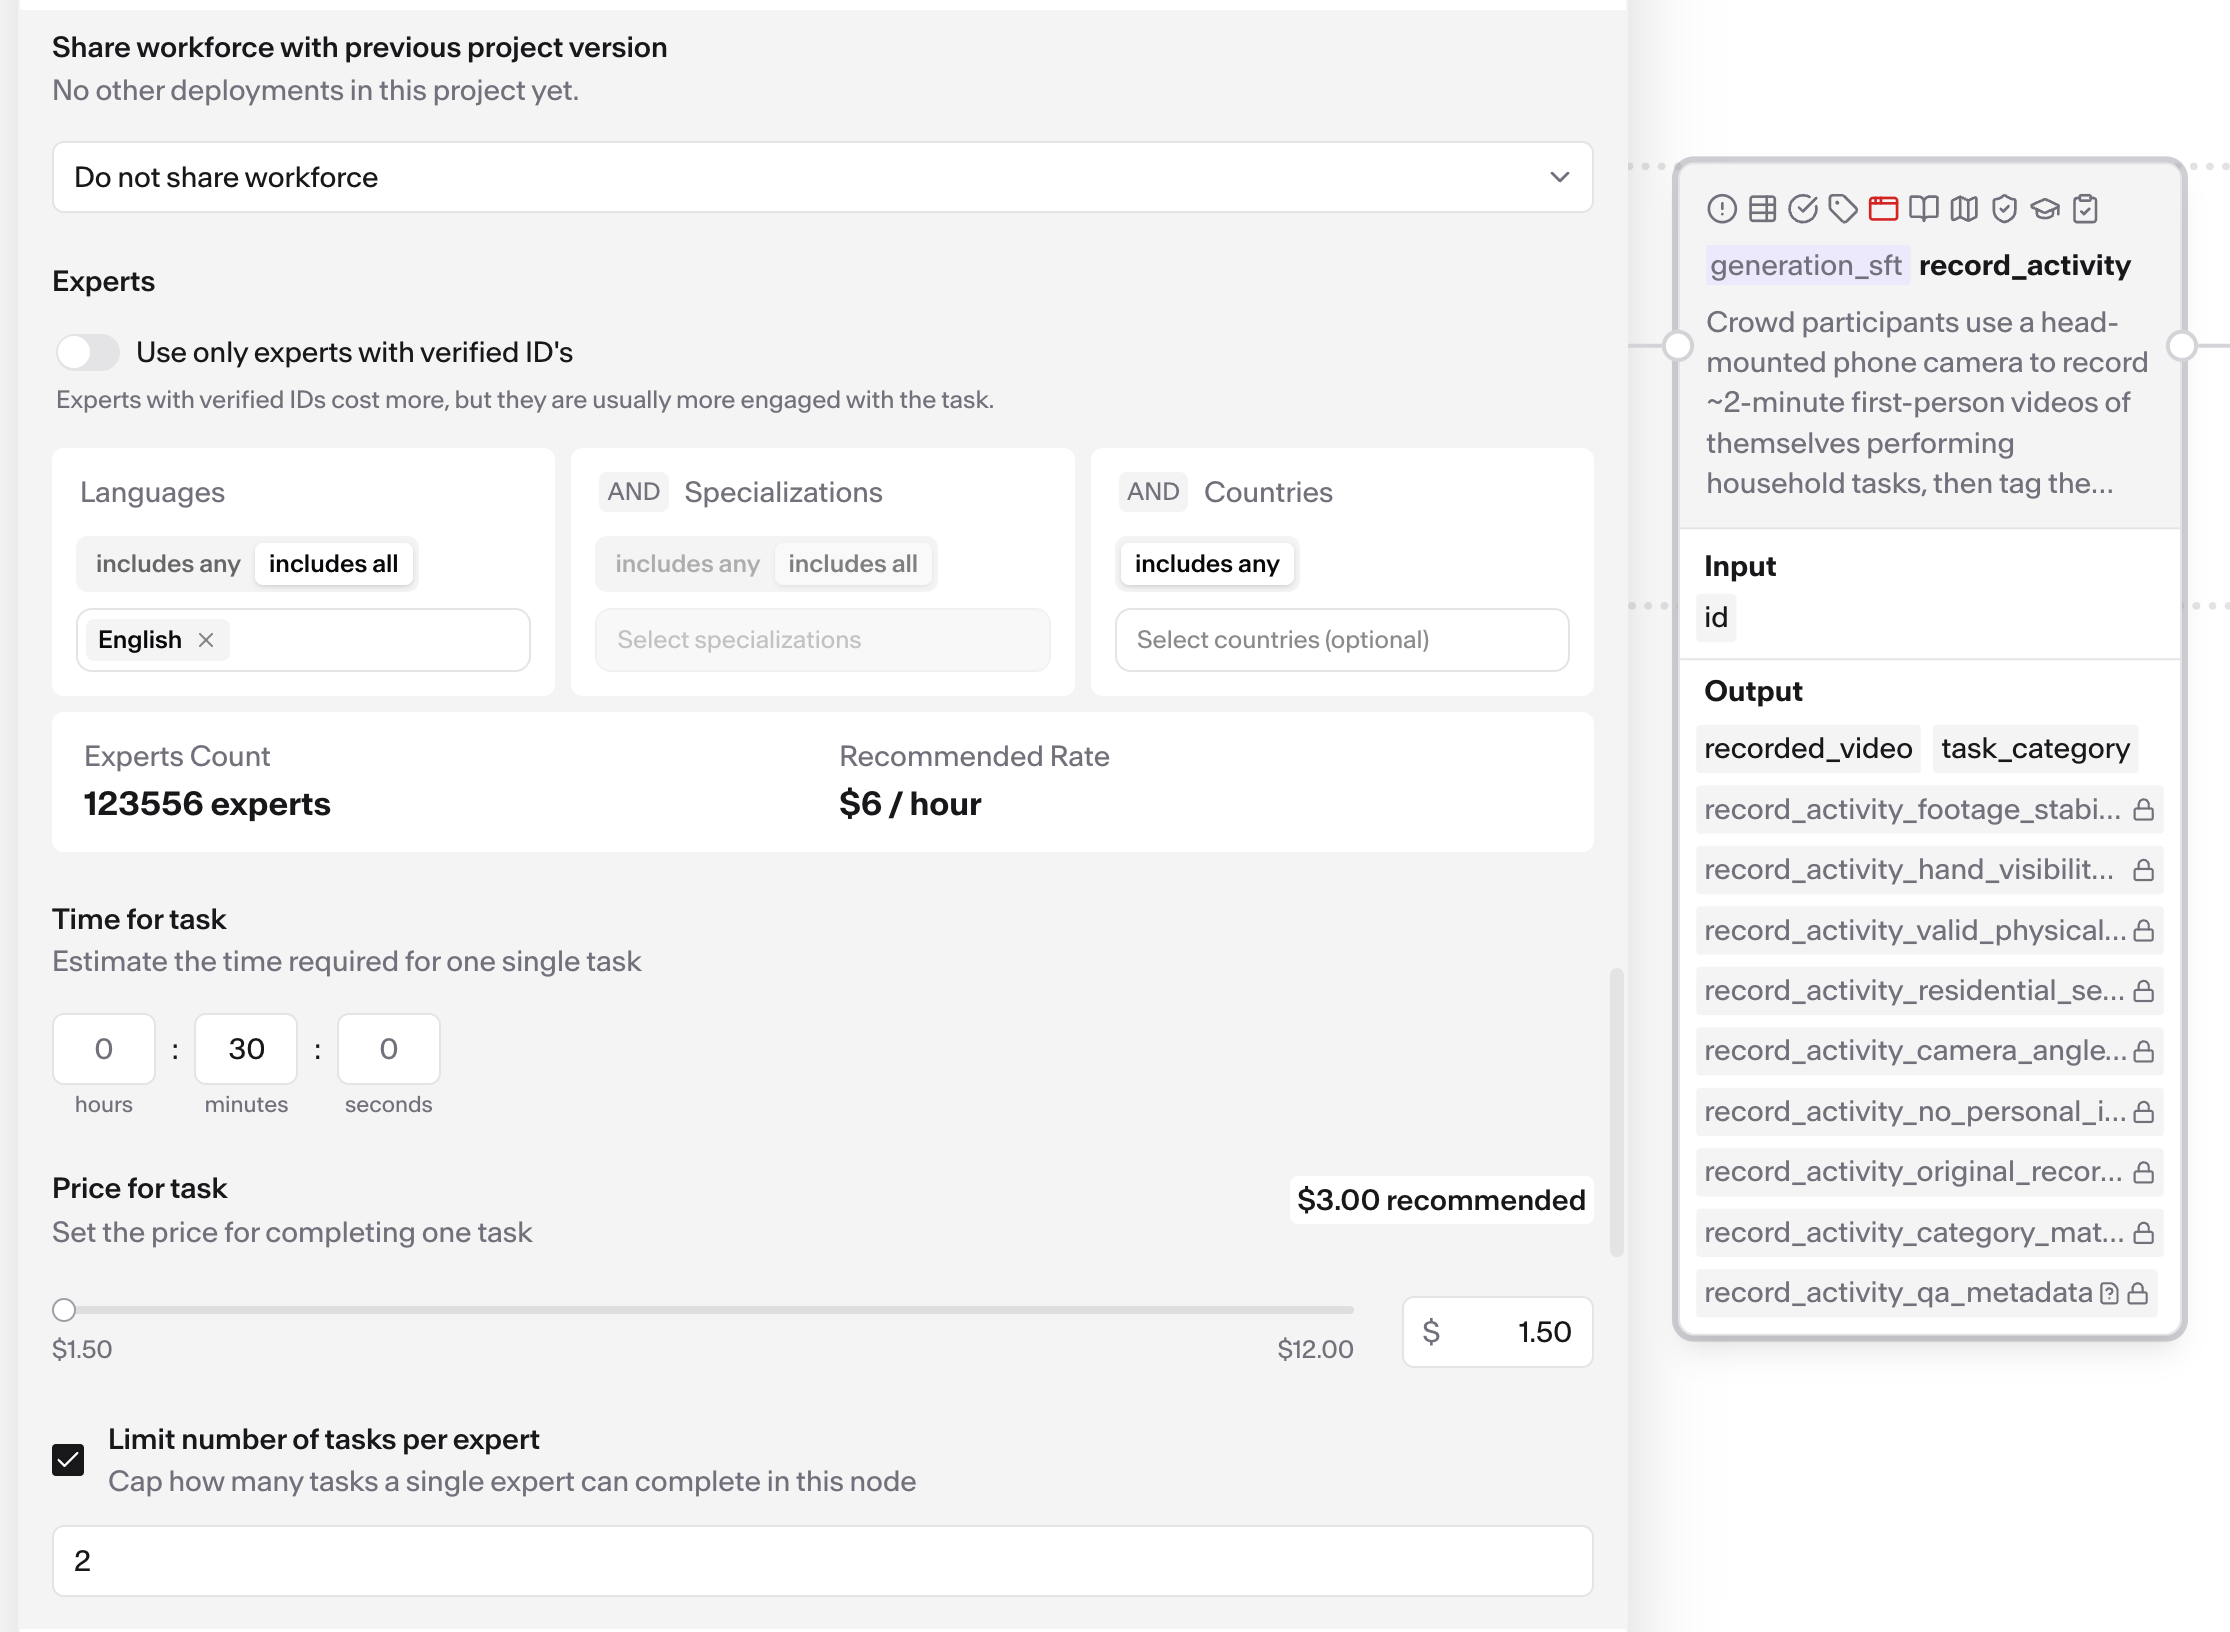
Section titled “Step 8 — Review each node”Before launching, open every node and check it: pricing, audience, the labeling interface, the guidelines. The agent’s choices are a draft you own, and after launch the configuration is fixed.
Step 9 — Deploy
Section titled “Step 9 — Deploy”Click Deploy.

If anything is wrong, an Issues panel opens instead of launching. Errors — in red — block the deploy; warnings, in orange, do not.
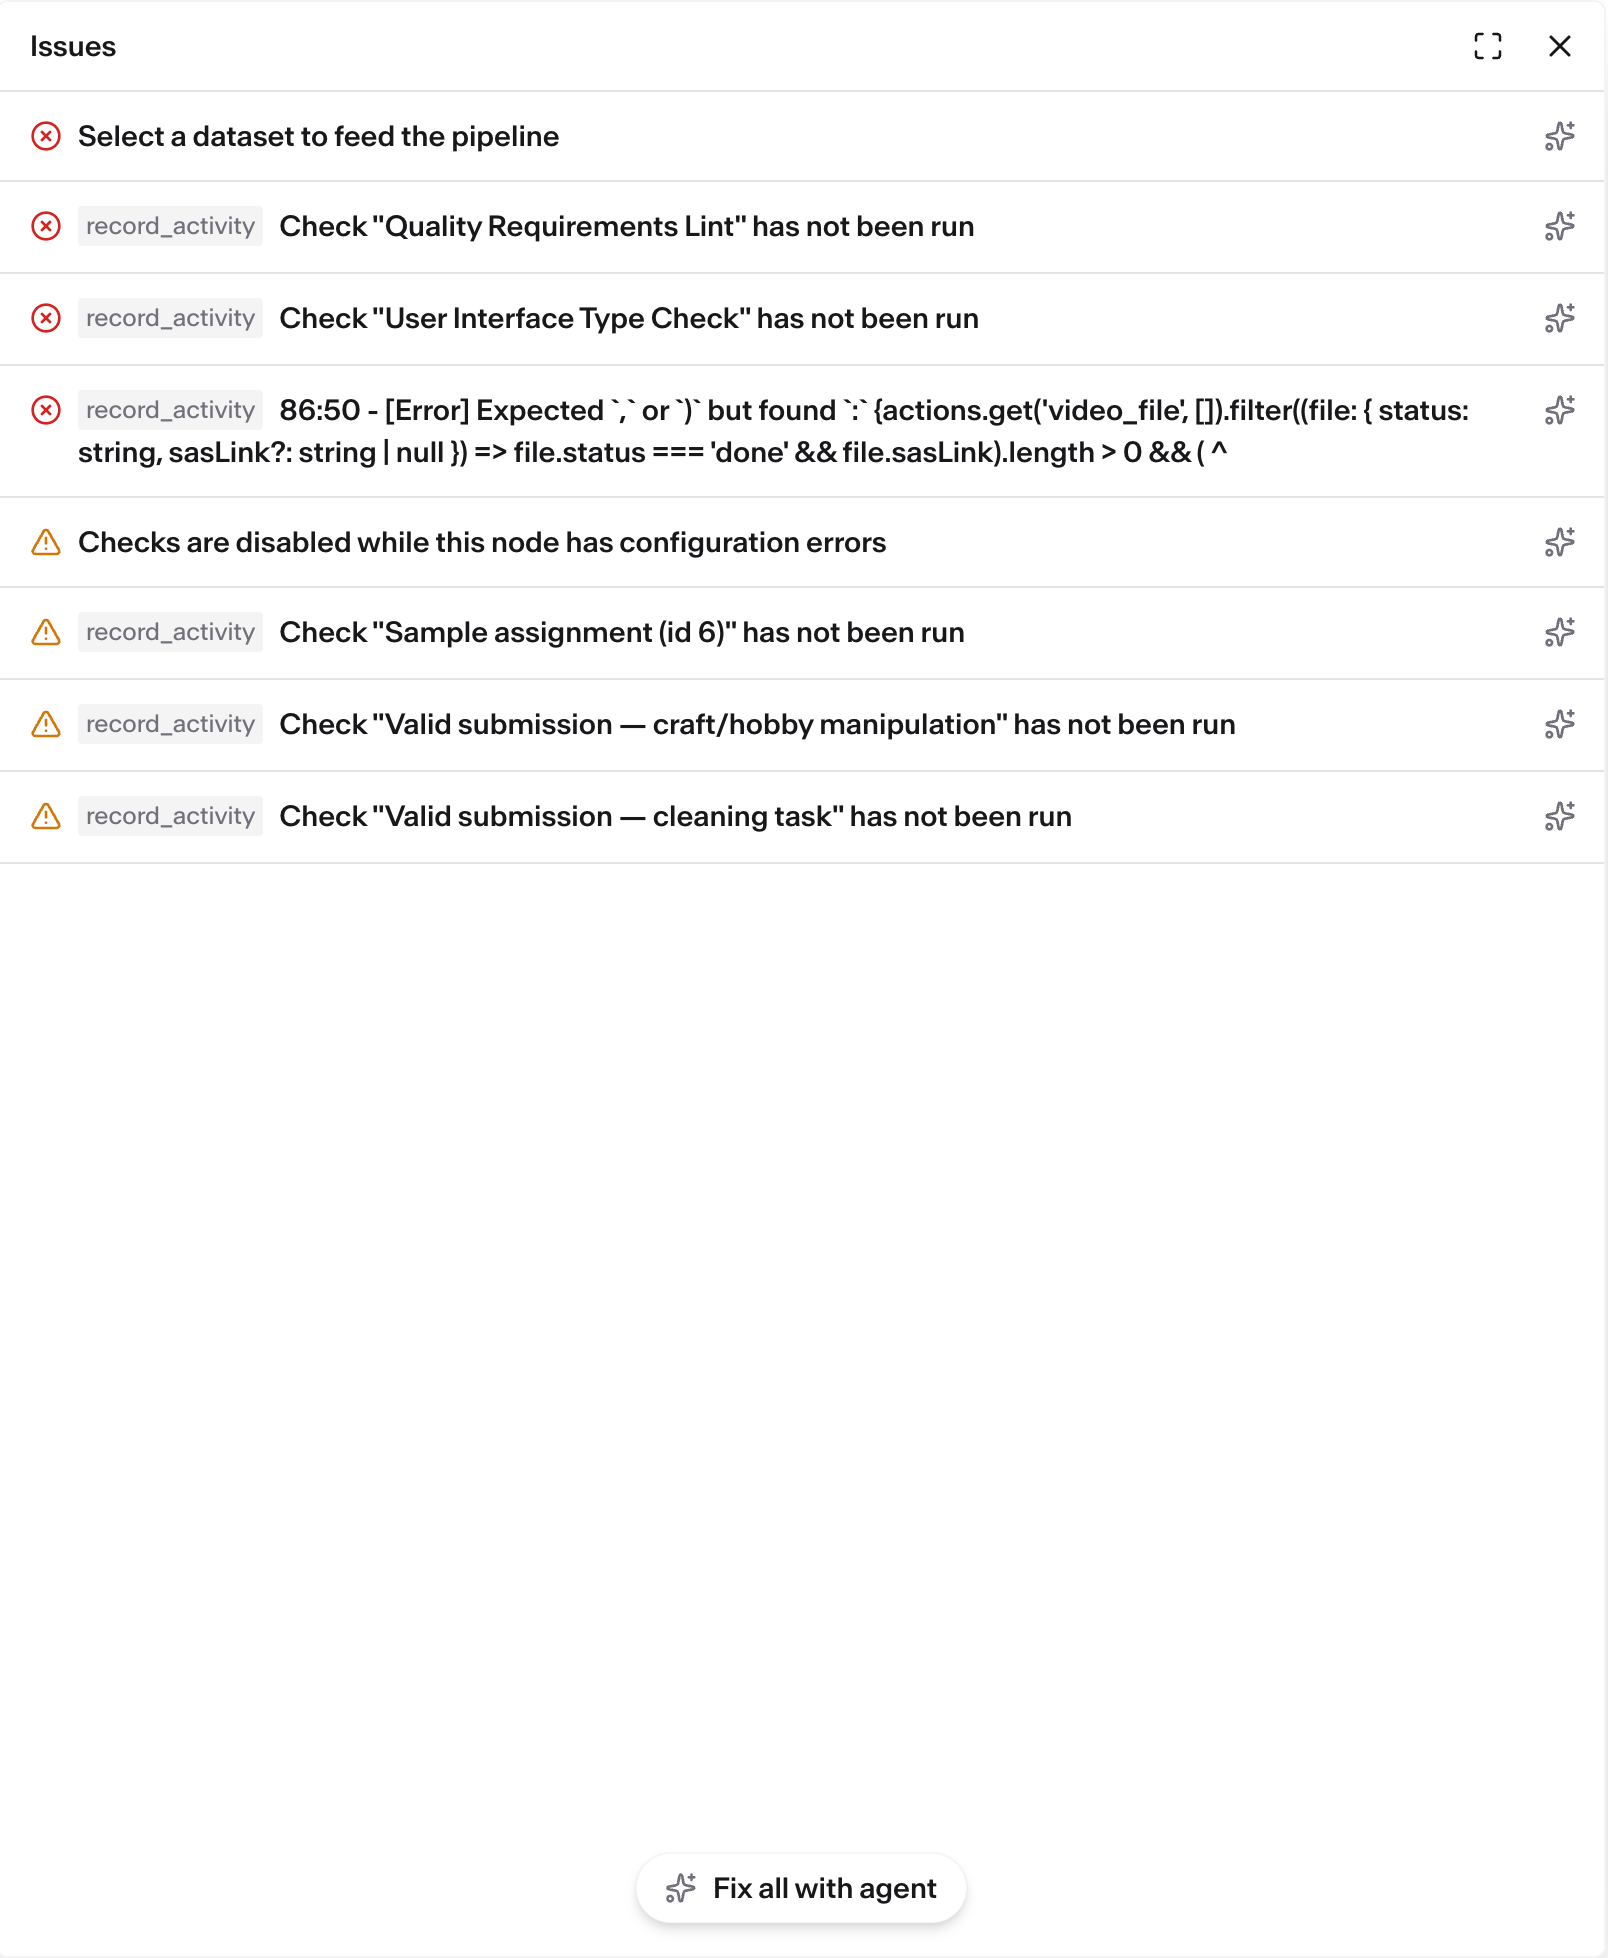
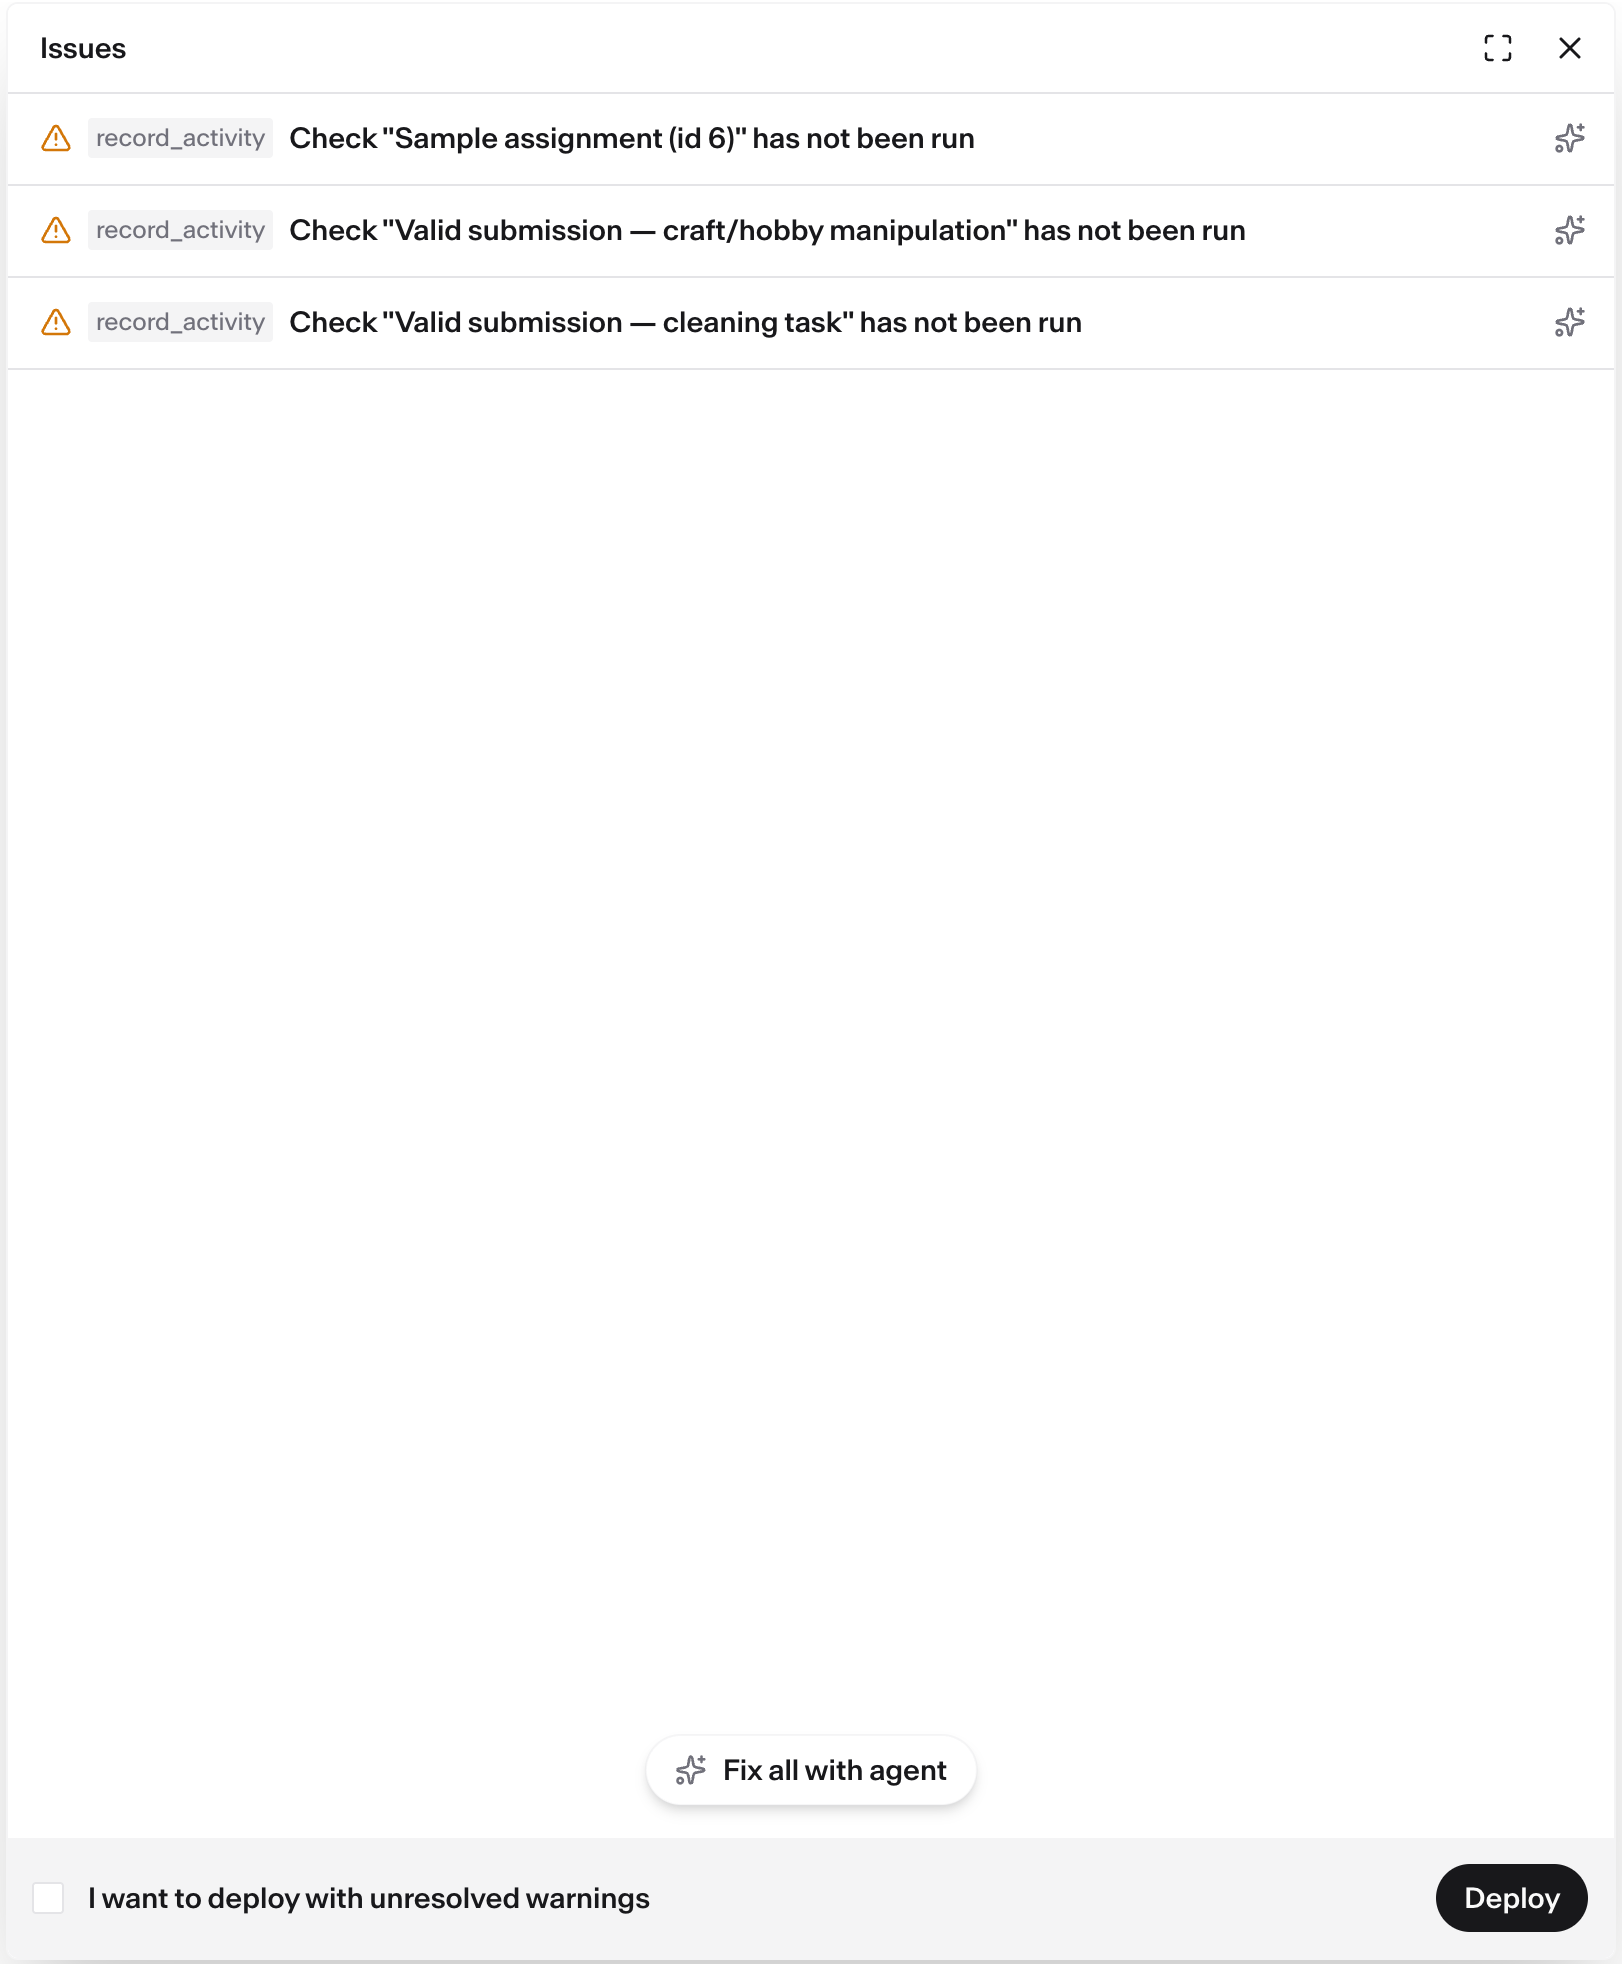
Click Fix all with agent, then go back to Step 8, check what changed, and deploy again. Once no errors remain, you can launch with warnings still open: tick I want to deploy with unresolved warnings, then click Deploy.
Step 10 — Confirm the cost
Section titled “Step 10 — Confirm the cost”The cost breakdown opens with an expected and a maximum total. Too high, and you can cancel, go back to Step 8, and lower the price per task or the item count.
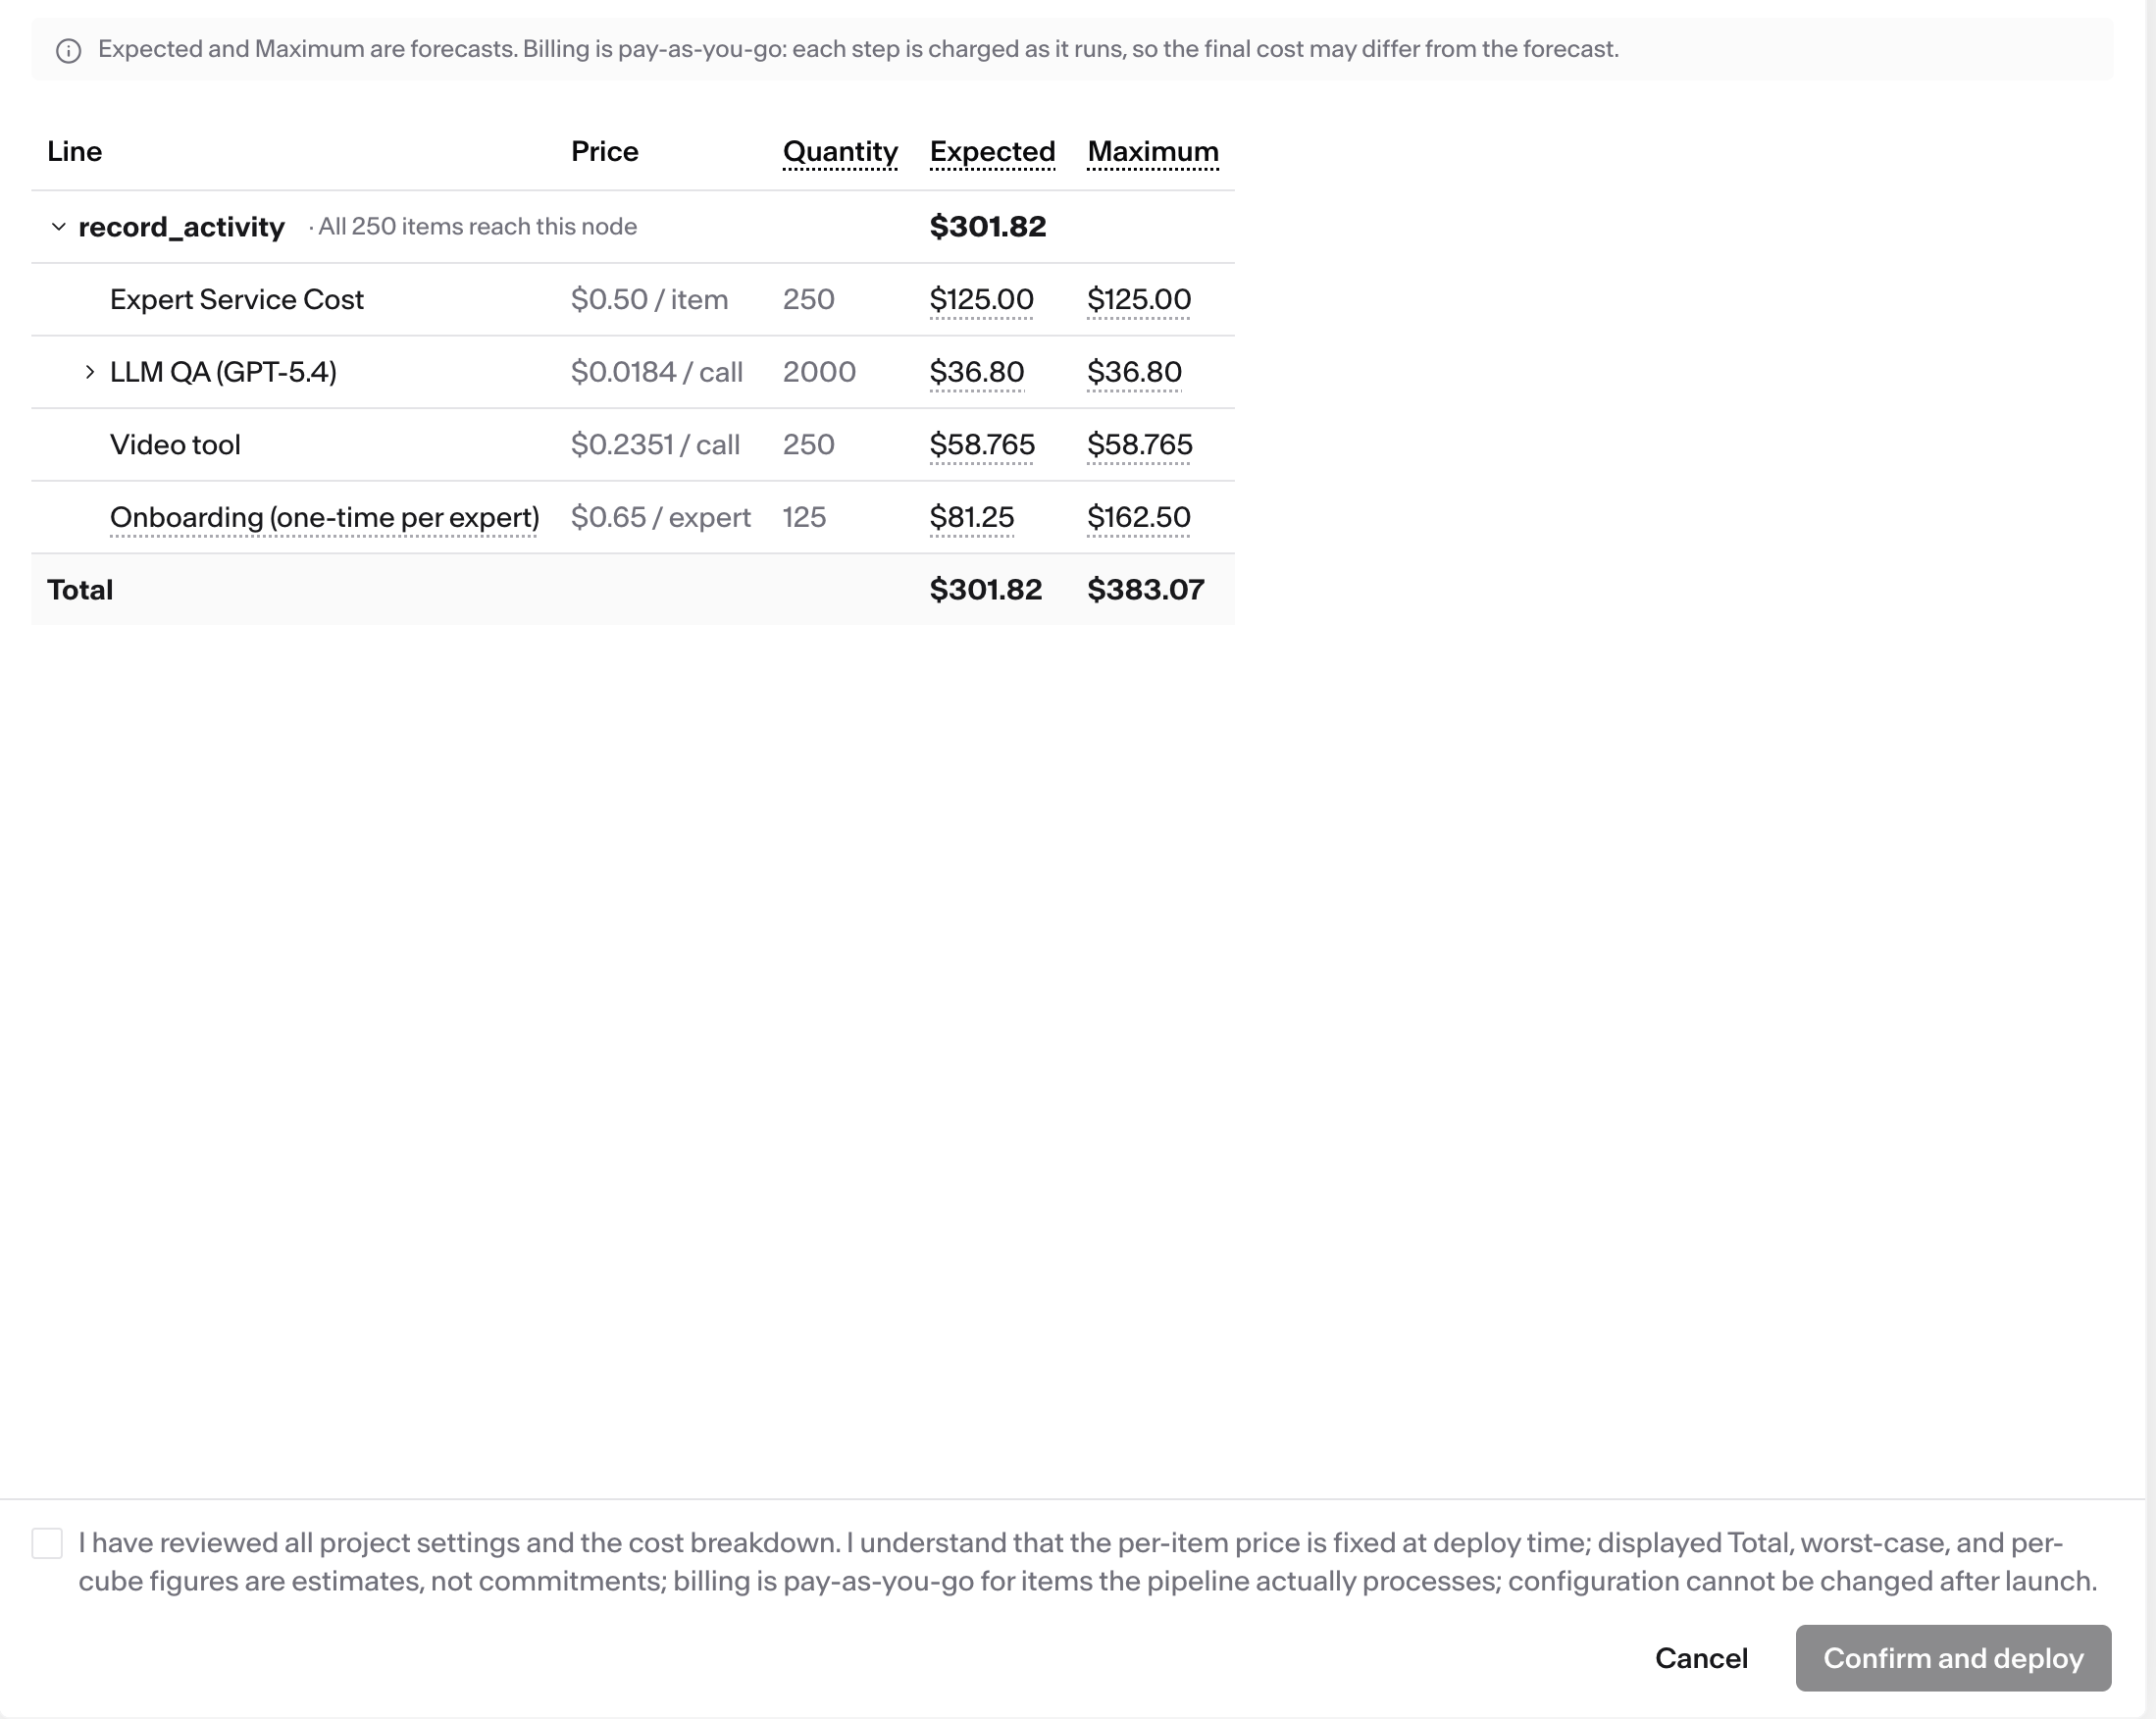
Tick the review checkbox and click Confirm and deploy.
Step 11 — Wait for the launch
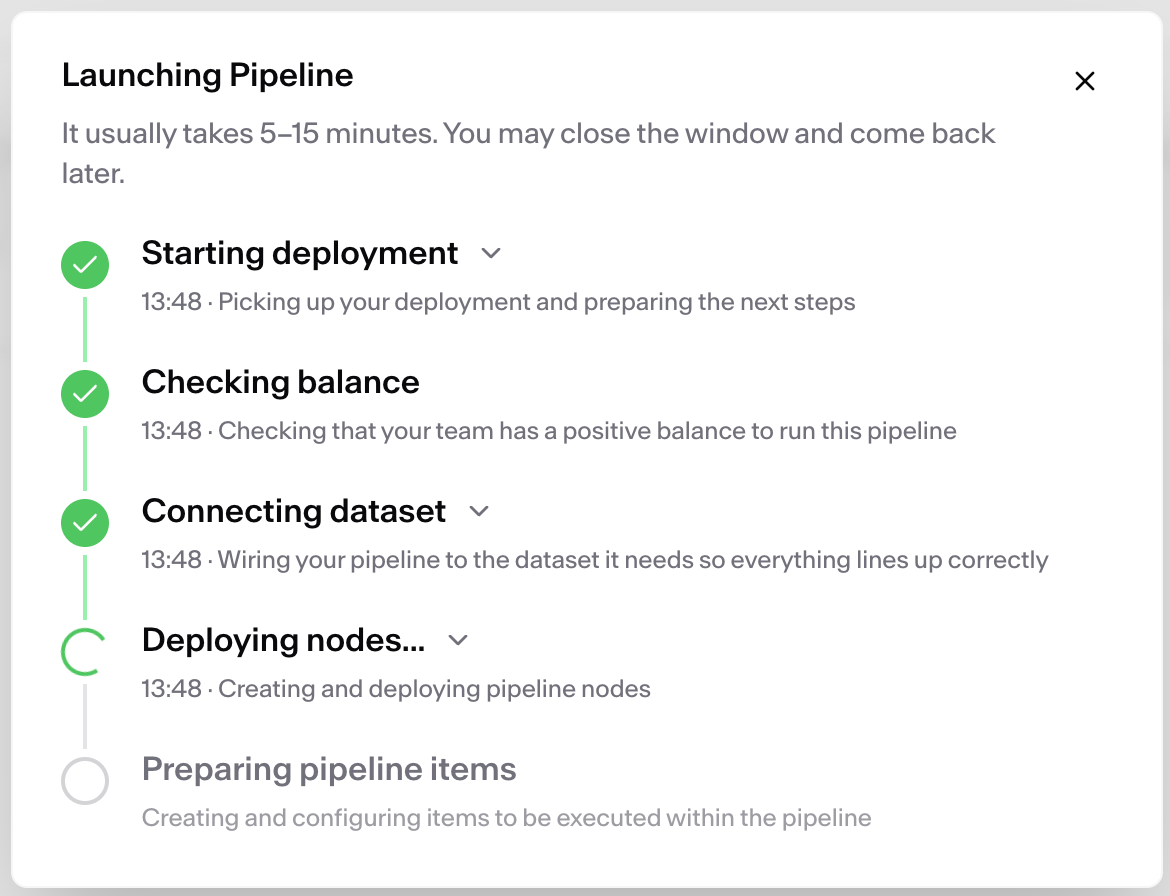
Section titled “Step 11 — Wait for the launch”Launching Pipeline tracks the deploy step by step. It usually takes 5–15 minutes, and you can close the window and come back.
What’s next
Section titled “What’s next”- Export your labeled results when the run has results.
- Label a large dataset in batches if your data is bigger than one run.
- Troubleshoot a run if items are not getting done.